|
| C
O N S T R U C T I O N L O G |
|
| J
U N E 2004 |
|
| 1 |
 |
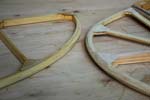
Cut
parts, cut hinge slot and assembled rudder with all blocks.
Cut
ply gussets for rudder. Cleaned
joints and cut gussets for stabilizer. |
|
8hrs |
|
|
| 2 |
 |
Planed
excess glue off stabilizer joints using a couple of small and extra
small planes with the blades set to shave a very thin layer.
Cut
1/16" plywood gussets for elevator and rudder.
Added
blocks and filler strip to rudder. |
|
8hrs |
|
|
| 3 |
|
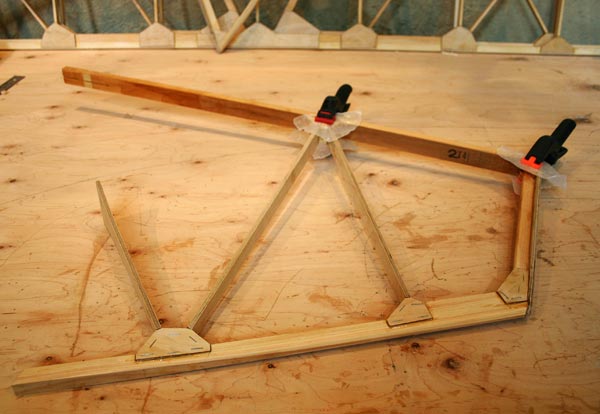
Glued
gussets on elevator and stabilizer. |
| First
sanded the plywood accross the grain about 10 strokes, then
cleaned wood with brush and tack cloth, applied a thin layer
of T-88 to both parts, let it soak in a little, then buttered
more epoxy on both parts, and stapled down gussets.Wiped
excess glue. |
| Assembled
stabilizer and elevator to check movement and clearance. |
|
|
6hrs |
|
|
| 4 |
|
PlPlaned
joints and glued ply gussets on rudder.Pulled staples off elevator
and stabilizer gussets. Drew pencil lines along middle of edges as
a guide when rounding them. Cut and glued large center gussets on
stabilizer and elevator.
Rounded
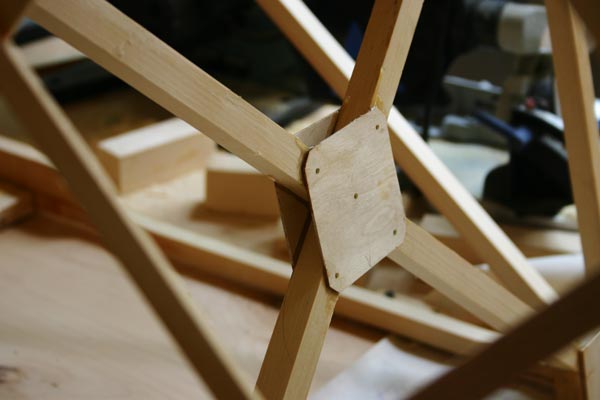
up and cut all pieces for the 2 spar carry through and 2 bulkheads. |
|
7hrs |
|
|
| 5 |
|
Pulled
staples off rudder gussets.
Glued
together spar carry throughs and bulkheads. |
| Cut
pieces and glued tail fin. Put in larger block to attach braces. |
|
|
5hrs |
|
|
| 6 |
 |
Glued
ply sides on spar carry thoughs.
Glued
cross pieceson bulkheads.
Glued
last rib of fin.
Centered
it by sighting. Started shaping edges on elevator with planes.
|
|
5hrs |
|
|
| 7 |
|
Pulled
staples off spar carry thrus.
Shaped
edges on stabilizer and elevator. Cut templates out of 1/8" plywood.
Checked
up and down movement of elevator(25 and 20 degrees).
Decided
to add a trim tab to the elevator, as seen on the net. Gene is
sending me a drawing.
I
did not like the gussets sticking uo 1/16" up from the ribs, so
I cut a whole bunch of 1/16" x 3/8" spruce strips out of a good
2x4, and will glue them on top of all the ribs, including the wings.
I t will re-enforce the 1/4" rib caps, and give a 3/8" spacing for
the rib stitching.
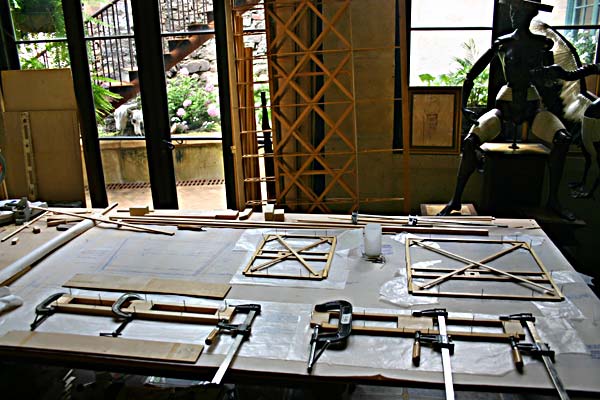
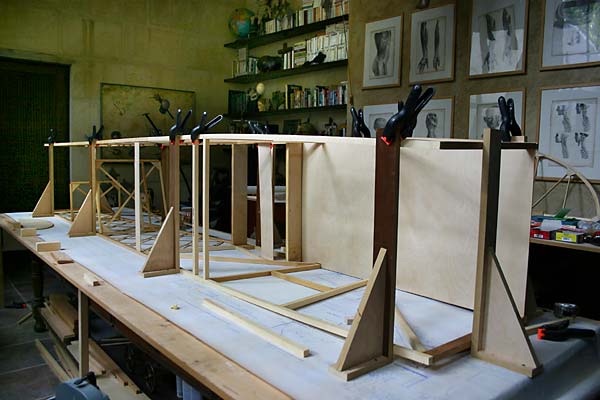
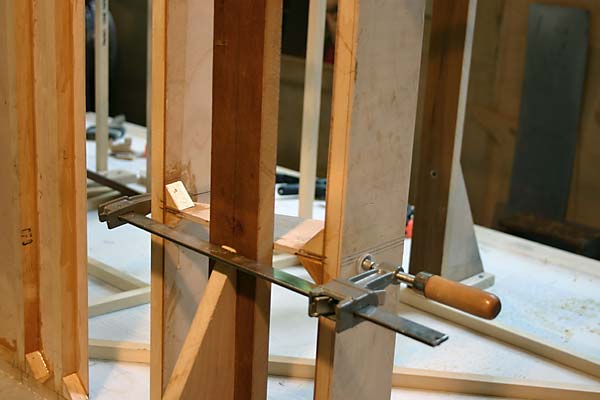
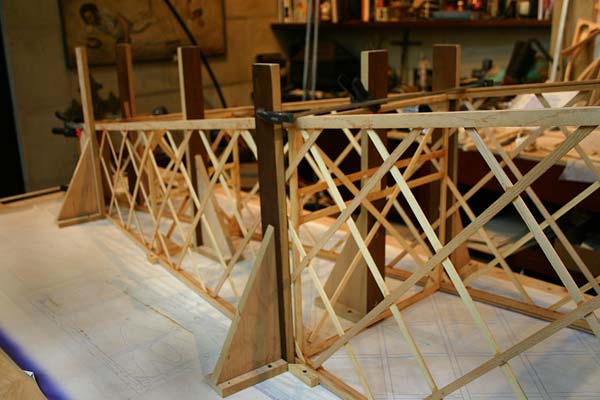
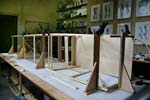
Cut
out 10 pressboard squares to use as a jig to keep the sides of
the fuselage in place and square . The blueprint suggests to lay
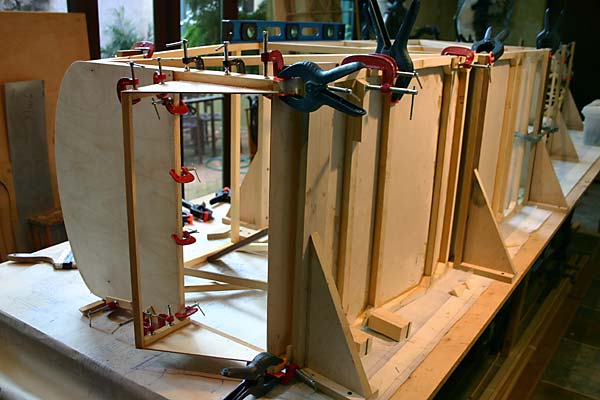
the fuselage side flat on the table instead.E-mailed Gene to get
his take on this. I went ahead and put the sides up vertically
anyway, we will see to morrow. |
|
8hrs |
|
|
| 8 |
 |
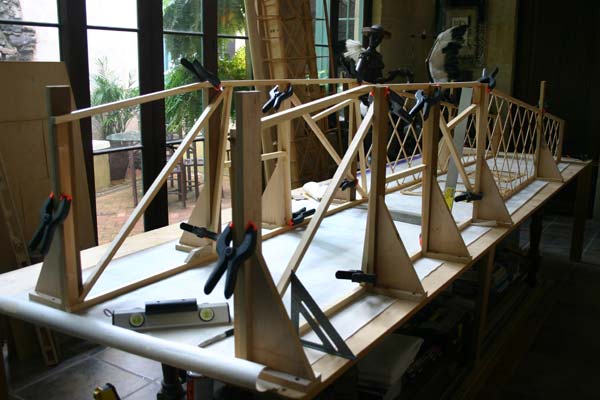
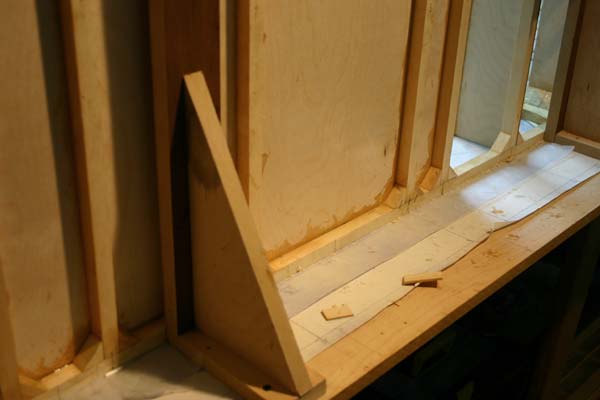
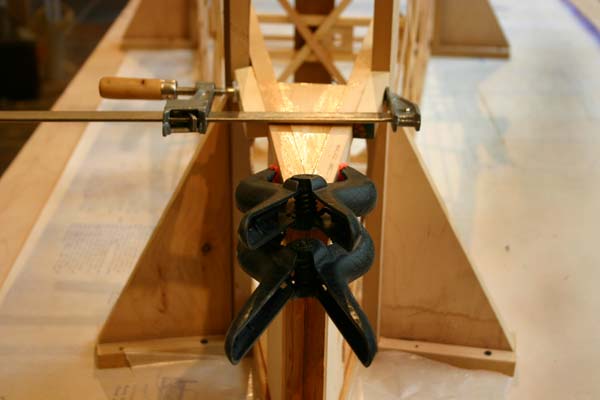
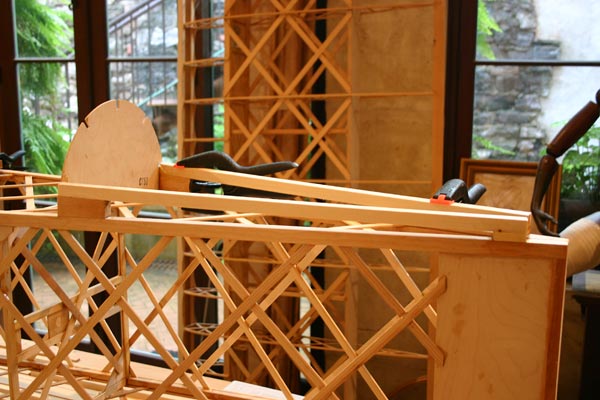
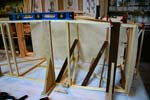
Well,
Gene e-mailed me back a laconic :"Fuselage should be built
flat on the table". So I took down my vertical set up, laid
the side blue print on the table and the right side over it , notched
the plywood floor and suspended the left side on the wood squares
I built yesterday. I
cut all the cross members and dry fitted the whole thing. It worked
fine, except that the measurements from the firewall to the floor
members don't quite match the blueprint, and it is not clear whether
the top longeron is bent at the passenger seat back or instruments
panel. I will ask Gene to morrow how critical those measurements
are (they are given to the 1/32th).
|
orked fi |
3hrs |
|
|
| 9 |
 |
Talked
to Chuck at Fisher about my little problems. The top longeron IS
bent at the passenger panel, so I added that cross member. The
position of the landing gear is not that critical as long as there
is 10" between mounting channels, so I left them as per blue print.
Finished
fitting all the pieces dry, bending the front in 1", etc...Planed
the rear carry thru to fit . Glue edge of seat brace on, fitted
firewall.
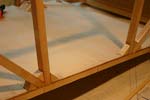
Glued
plywood floor and upper cross members.
|
tworked outfine |
5hrs |
|
|
| 10 |
|
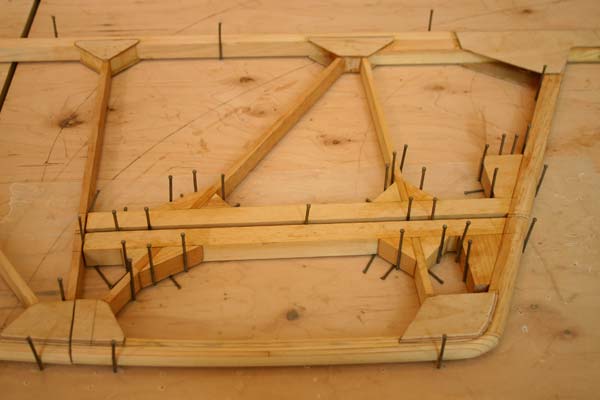
Fitted
and glued cross members in floor.
Fitted
rear spar carry thru. |
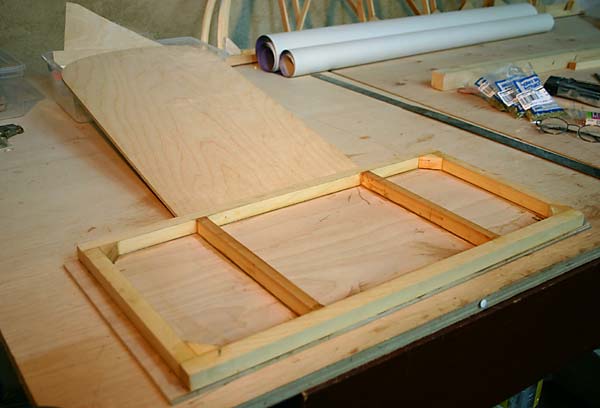
Assembled
frame for pilot seat bottom.
Glued
seat brace. |
|
tworked out fine |
5hrs |
|
|
| 11 |
|
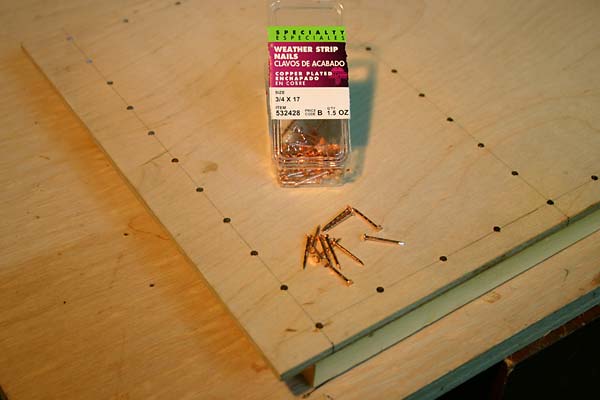
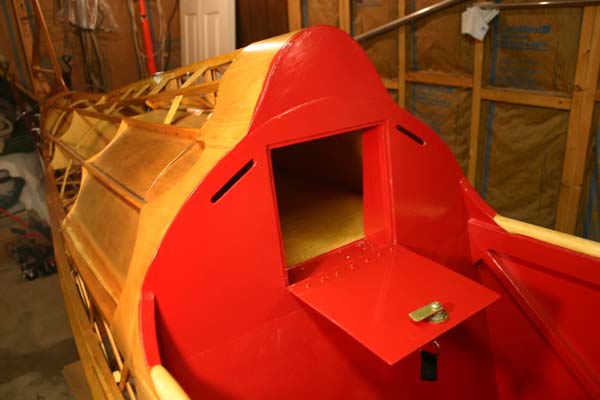
| Glued
plywood pilot seat
top and nailed it (for decorative purposes) with 3/4"copper nails(weatherstripping
nails from Lowes). I will have to find them by the pound, as
I want to use them throughout. |
Bent
the front longerons in 1" and glued front part of
floor.
Glued
cross members and blocks .
firewall
, sides of boot. |
| Fitted
and glued in brace under pilot seat. |
| Bent
sides untill they touch at the tail, and dry fitted the bulkheads |
|
twoked out fine |
8hrs |
|
|
| 12 |
|
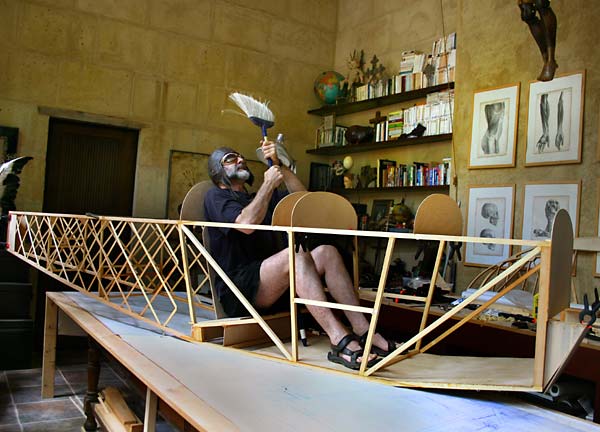
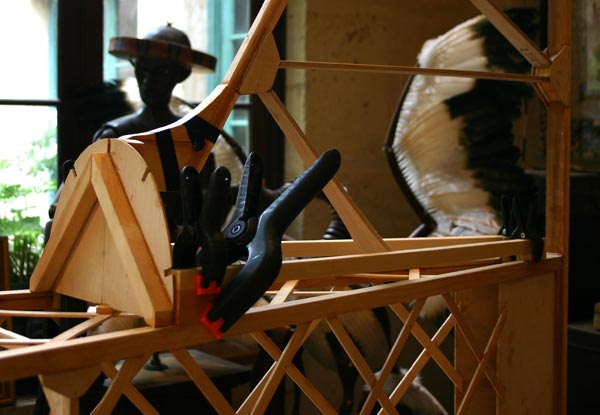
Took
all the clamps off. Turned fuselage up on the table, fit the
panel pieces and the back of the seat.
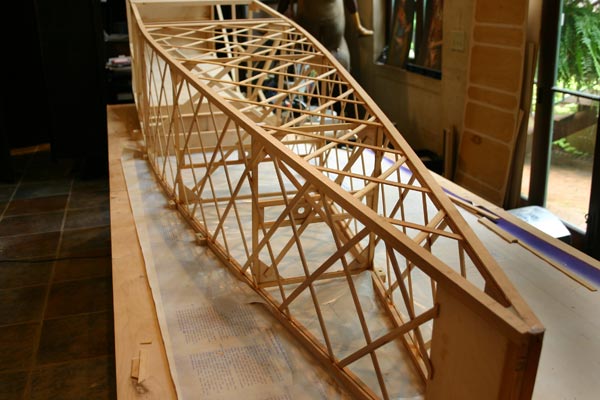
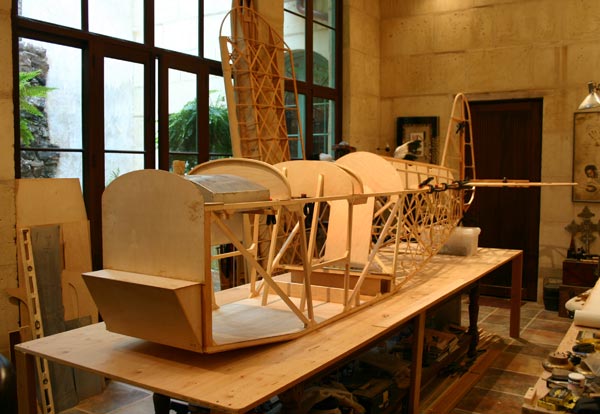
Tried
the seat for fit, sat in the cockpit, grabed the broomstick
( that's what we call it in french: manche a balai) and flew
a loop... Got a high ceiling! |
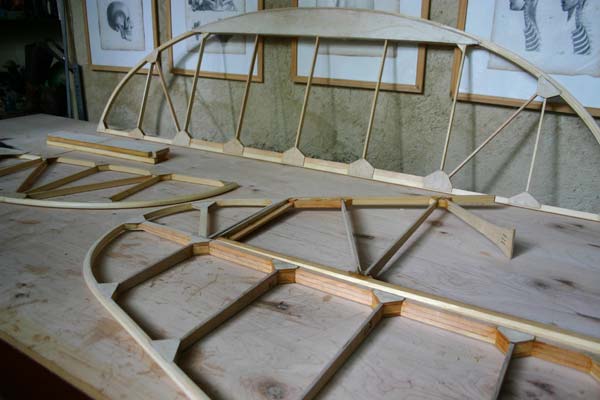
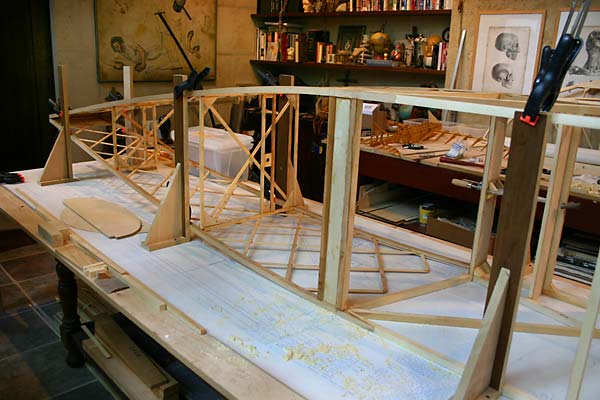
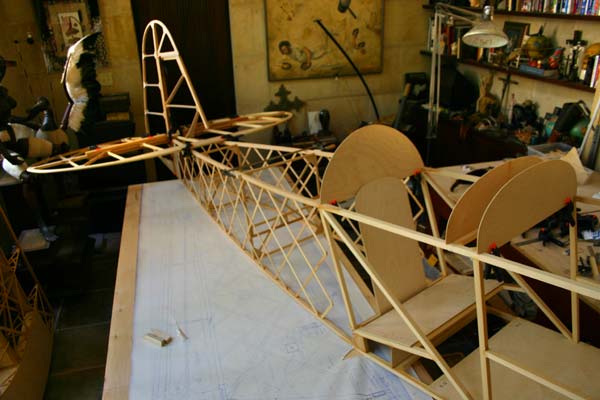
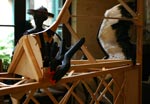
Dry
fitted the stabilizer, elevator , fin and rudder. Looks just
like an airplane now! |
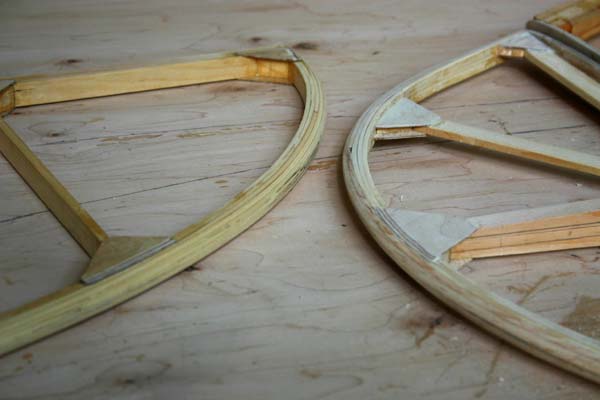
| The
tail end looks pretty good, even though the rudder is not round
enough for my taste. Think Fokker! |
|
twoked out fine |
2hrs |
|
|
| 14 |
|
Cut,
fit and glued in a bunch ofblocks on the leftside of the fuselage.
Glued
top of boot and side 1/2"x1/2" strips. |
twoked out fine |
4hrs |
|
|
| 15 |
|
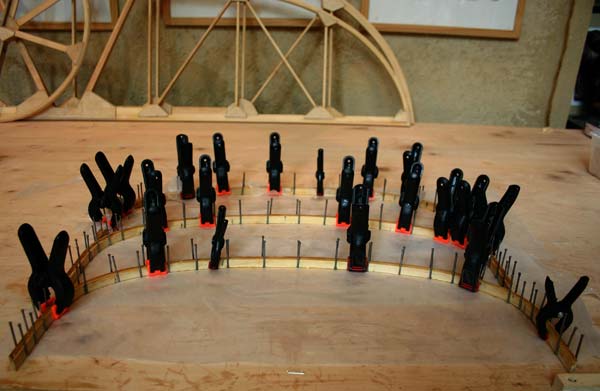
Bent
wet laminations for instrument panels. Left them to dry overnight.
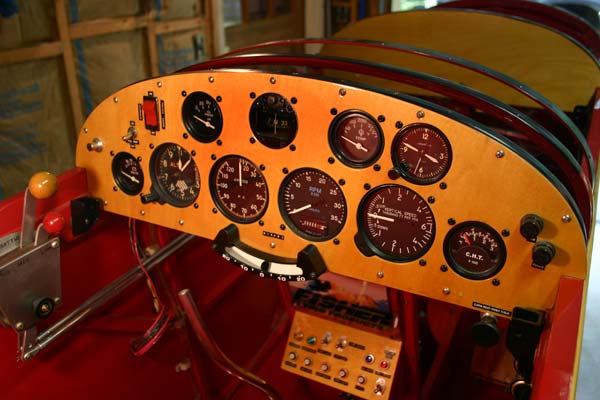
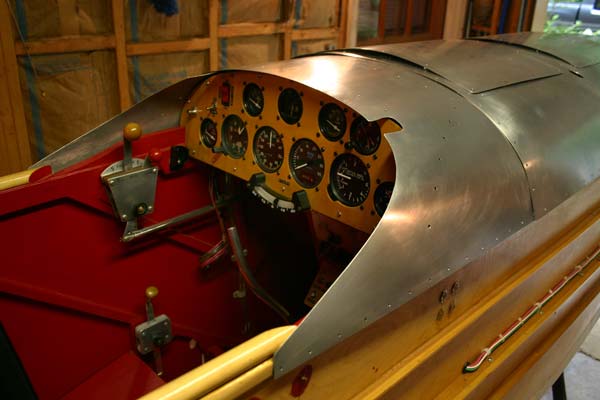
Paid
a visit to Buddy Tollison to look at his Classic fuselage
and instrument panel. Turns out I had pretty much picked
the same instruments from the Aircraft Spruce catalog. He
used a throttle quadrant from Aircraft Spruce. |
| He
built up the turtledeck and made a luggage compartment.But
that's where the ballistic parachute is going to be. |
| I
liked his aluminium deck with the rounded cockpit opening and
removable inspection panels attached with studs. |
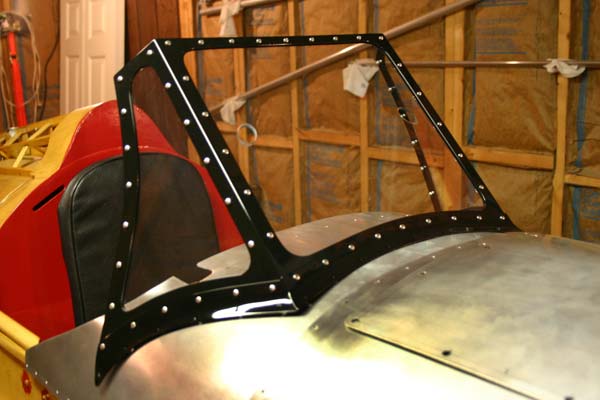
| I
also liked his aliminium framed old fashion windshield. |
|
twoked out fine |
1hrs |
|
|
| 16 |
|
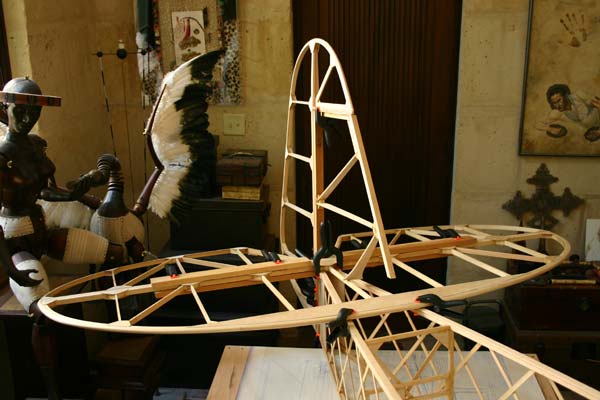
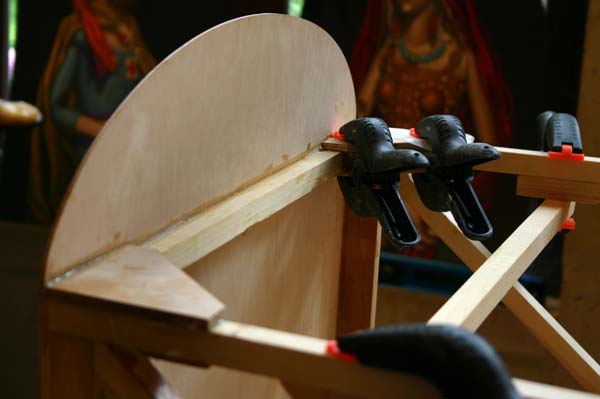
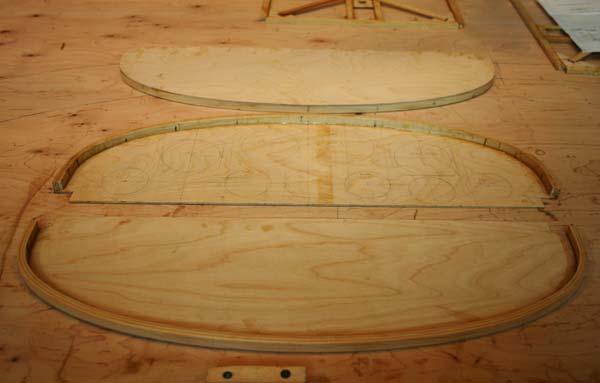
| Laminated
the 3 instrument panel bows. |
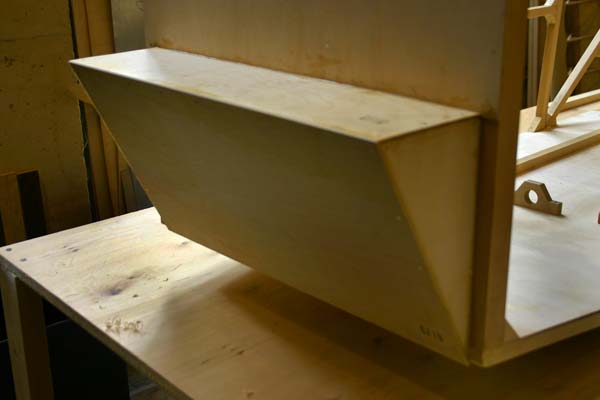
| Fit
and glued front ofboot. |
| Fit
and glued top front blocks and gussets(1/4" and 1/8"). |
| Planed
blocks smooth at joints, removed glue spills, and sanded fuselage. |
|
twoked out fine |
8hrs |
|
|
| 17 |
|
Fit
and glued front spar carry thru to floor and blocks on top.
Glued
main panel 4" ply bottom.
|
Cleaned
up panels laminations.
Glued
laminations to panel faces and back. Planed and sanded edges. |
| Cut
and glued
gas tank supports. Fitted and glued front panel corner blocks
and gussets. |
|
twoked out fine |
8hrs |
|
|
| 18 |
|
Added
3/4" spacer at front of panelmount to make space in panel
for 4 1/8" deep
instruments and a slant.
Fit
and glued cabane attachment blocks on eachside below main panel. |
| Fit
and glued crossbars behind seat. Those were tricky to fit because
of angles of corners. The corner blocks had to be 3D custom
cut out of fat blocks from 2x4's. |
|
twoked out fine |
4hrs |
|
|
| 19 |
|
Cut
out and start to build trim tab out of elevator.
|
| Turned
fuselage upside down over center line and blueprint. Block
and square
sides. Pulled tail ends in and clamped. |
| Fit
bulkheads and brace sides tight and square.. s |
| Plane
tail ends of both sides to fit and glue, fit and glue triangular
block in between bottom longerons. |
|
twoked out fine |
6hrs |
|
|
| 22 |
|
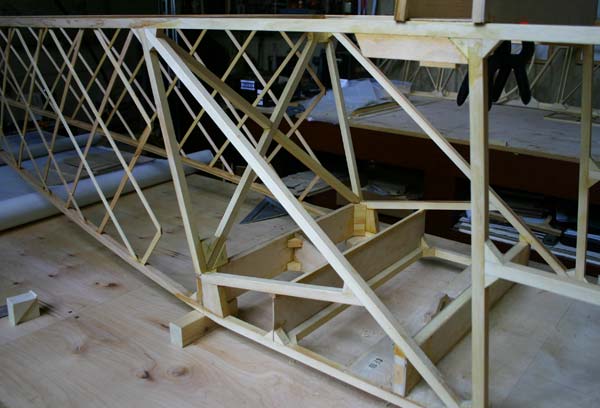
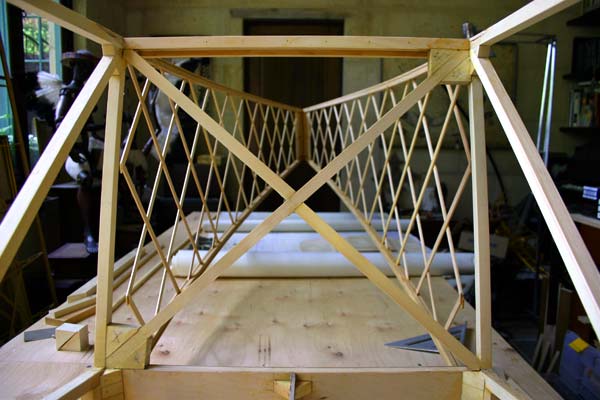
Worked
on trim tab.
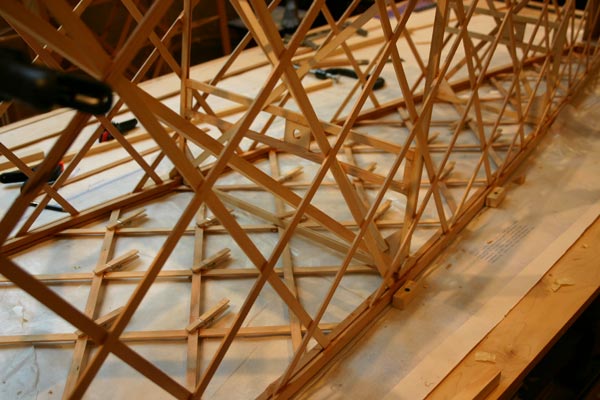
Cut
and glued top fuselage geodetic.
Marked
place of members on fuselage floor. |
|
twoked out fine |
3hrs |
|
|
| 23 |
|
Finished trim
tab. |
Installed
bulkheads.
Finished
blocking cross braces. |
|
twoked out fine |
4hrs |
|
|
| 24 |
|
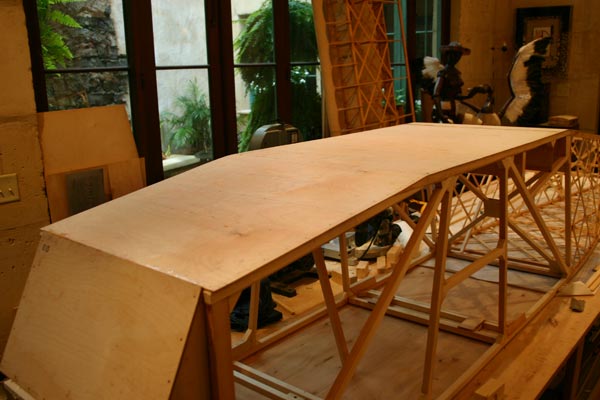
Turned
fuselage over to cut and glue bottom geodetic.
Glued
last blocks and gussets for cross bracing.
Dry
fitted turtledeck. |
|
twoked out fine |
6hrs |
|
|
| 25 |
|
Turned
fuselage back upside down. Added member on bottom to bolt front
landing gear channel on.
Glued
bottom plywood. |
| Glued
remaining bottom geodetic. |
|
twoked out fine |
4hrs |
|
|
| 27 |
 |
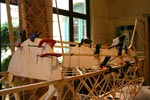
Assembled
plane to show friends at party. |
twoked out fine |
1hrs |
|
|
| 28 |
|
Finished
blocks and cut and glue gussets on fin. |
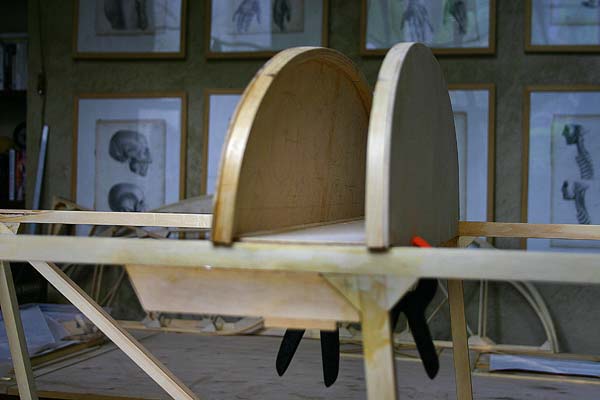
| Glued
stabilizer support members and rear turtledeck bulkhead. |
| Added
corner gussets to front of cross bars behind seat. |
|
twoked out fine |
4hrs |
|
|
| 29 |
 |
Squared
and levelled fuselage.
Re-enforced
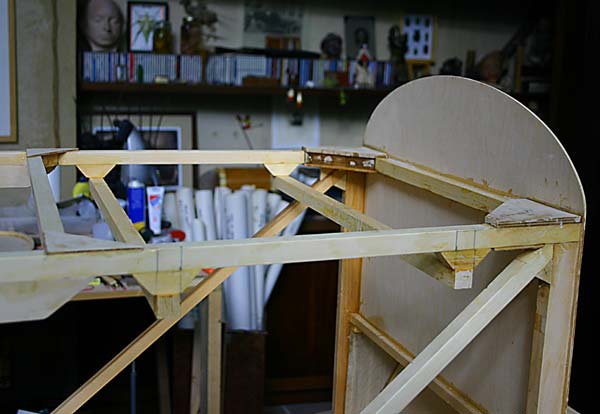
rear bulkhead . Fit and glued fin. Glued
gussets for stabilizer support members.. |
twoked out fine |
3hrs |
|
|
| 30 |
 |
Dry
fit
rear turtledeck bulkheads and stringers. Glued some stringers and
bulkheads in place. Added blocks . Planed tail post. |
twoked out fine |
5hrs |
|
|
| |
Total
Hours so far |
171hrs |
|
|
|