|
| C
O N S T R U C T I O N L O G 1 6 |
|
| O C T O B E R - D E C E M B E R 2 0 0 5 |
|
| 01 |
|
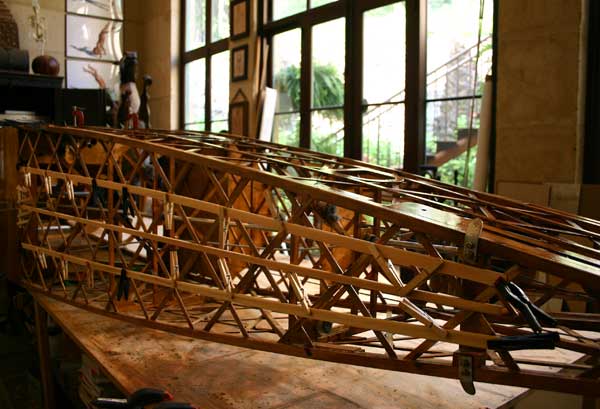
| Glued the left side panel on. I had to make a new front section, having cut the original one by mistake. |
Glued 2 more strips of wood on the bottom of the fuselage to get strong support for the fabric.
|
Added some pieces of 1/8" plywood to the back of the elevator lever opening
|
|
5hrs |
|
|
| |
|
| Painted the black squares on the other side of the stabilizer. |
Finished varnishing the fuselage. Ready to cover when weather permits. |
| Painted the red squares on the other side of the stabilizer. |
|
5hrs |
|
|
| |
|
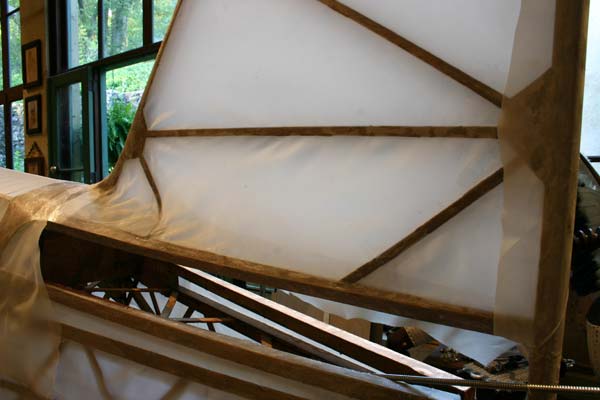
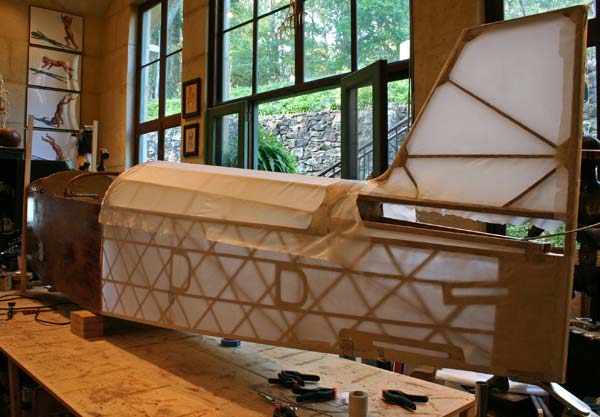
First, I lightly sanded the areas where the fabric is going to be in contact with the wood, and put a coat of Polybrush.
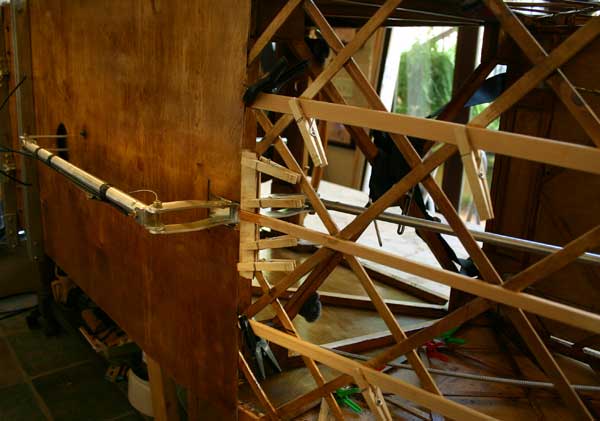
Then, I attached some 1x2's to the firewall so it would sit level upside down on the tail fin. |
I measured and cut the panels for the bottom and the sides.
I clamped a piece of fabric on the bias to the fin, and fiddled to make it fit as best as I could . Glue it to the rear post, then to the ribs, taking special care for the two curved plywood ribs . I |
I then glued it to the top of the fin, and to the leading edge, finally to the bottom and to the curve between the top of the fuselage and the leading edge . It was actually easier the expected, and did not get too many wrinkles. They were pulled tight and smooth using the small iron.
Did the other side of the fin the same way. |
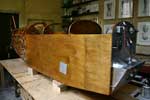
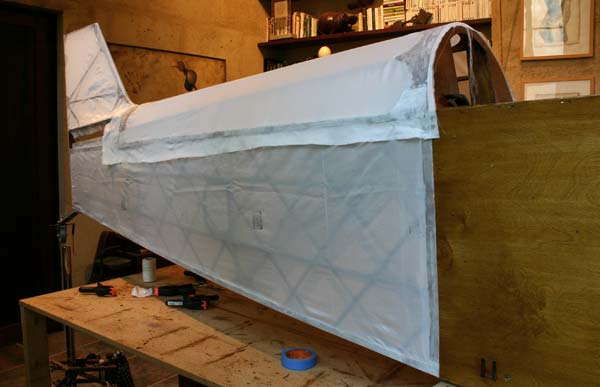
I turned the fuselage over and glued the bottom panel . Wrapped it around the side. Wiped the Extra glue with a rag and MEK, and smoothed the wrinkles and bubles with the iron.
I then glued on the two side panels. Wrapped them around the bottom. Turned the fuselage on its sides to trim the extra fabric. Wiped and ironed the seams smooth. |
| Finally glued on the turtledeck panel. Trimmed the extra fabric, and tightened it with the iron at 250 and 350. |
|
6hrs |
|
|
| |
|
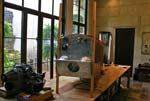
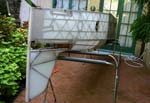
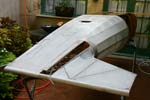
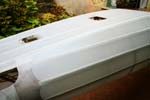
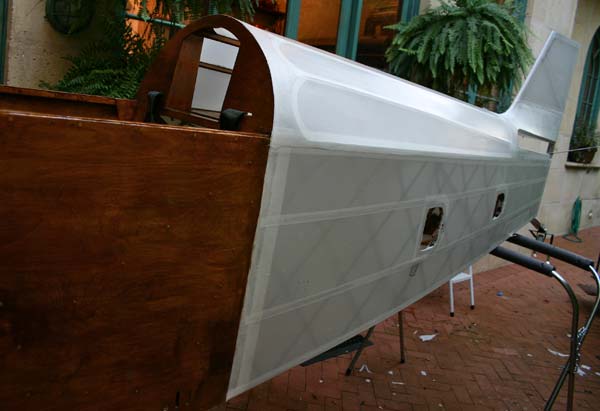
I took the fuselage out in the courtyard and set it on horses to finish covering, to tighten it with the iron, and to put on the 3 coats of Polybrush.
|
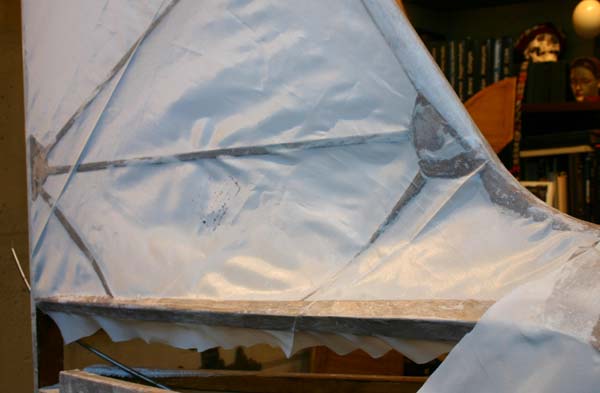
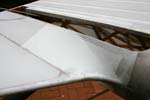
I glued another small panel on the curved part of the tail to improve the fit and get a smooth curve.
|
I tightened the curve of the fin. I was using MEK at the same time of the iron to smooth the transition, and it caught on fire. I guess the thermostat clicked and made a very small spark . I burned the hell out of my fingers frantically putting it out before the whole fuselage went up in smoke... Fortunately, damage was minimal, and I just replaced the small panel seen at left. But that was a dum thing to do. The lesson is DO NOT EVER USE THE IRON CLOSE TO MEK, OR POLYBRUSH FOR THAT MATTER, you could lose the plane to flames.
|
I trimmed the inspection holes and glued the turned under fabric.
I finally put one coat of thinned Polybrush over the whole thing.
I also sanded the plywood side lightly and gave it a last coat of varnish. |
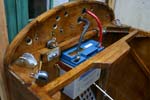
I made an aluminum support bracket and a copper strap for the battery and attached it behind the firewall with two brass screws and wing nuts.
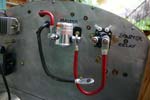
Bought some short #4 gauge battery connectors in black and red, drilled the firewall and installed grommets . The end had to be cut and drilled with a 3/16th hole to attach to the battery terminals. |
| The other end was attached to the master relay. Another short connector goes from the master relay to the starter relay. The black wire will be grounded to the motor mount. |
| The wrinkles and bumps were ironed out , and two more coats of Polybrush were brushed on. |
The fuselage was moved back inside, and the fabric antiqued with artist oil paints as the wings were.
I can now go to Mexico for 3 weeks while the paint dries... |
|
12hrs |
|
| |
|
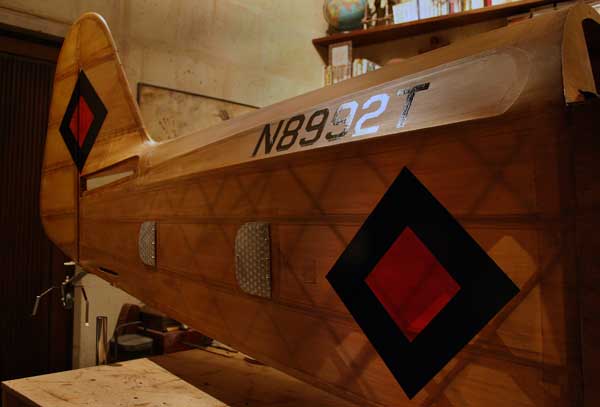
Back to a dry fuselage, I painted the colors of Spiritus Tomas on the tail fin and on the sides of the fuselage , and finally painted the N8992T on each side. The weather has been too cold and rainy to take the plane out and assemble it in the driveway. |
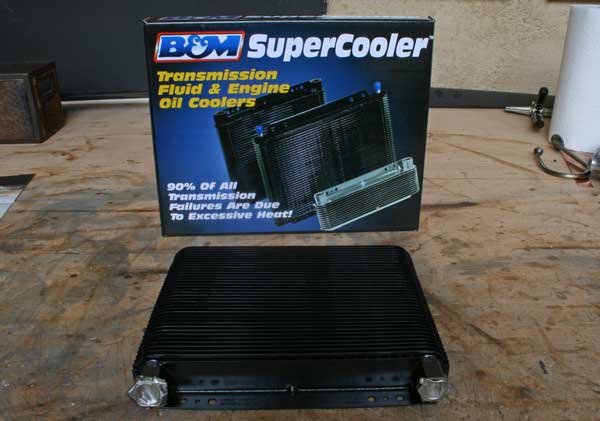
I did not like the flimsyness of the oil cooler I got with the engine, since it is going to be on the outside, and also the size . So I ordered a B&M SUPERCOOLER from an automotive racing supply house. I is a much sturdier design and more a compact 9"x11"", with inlet and outlet on the bottom. That would allow me to mount it on the front of the engine cowling, right behind the prop. |
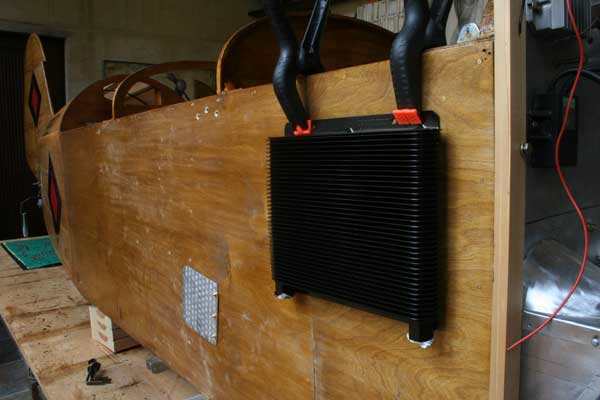
The other option I am considering, and that would look better, would be to use 2 of those in séries , one on each side of the fuselage. The question is whether that would provide sufficient cooling, the coolers being sideways, instead of facing the airflow. I could use a scoop to get more airflow too.
|
|
5hrs |
|
|
| TOTAL 1157hrs |
|
|