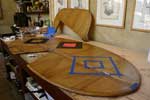
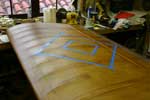
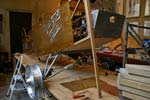
| I finally decided on the markings for the plane: a red square within a black square, laid at a 45 degree angle to the spars. I made poster board mock ups in different sizes. I taped the shape and sealed the edges with a clear alkyd, then painted the black using artist paints. |
But they take too long to dry, so I switched to a satin gloss alkyd enamel from the paint store.
|
| The square on the wings has a corner over the aileron, so I installed them temporarily to line it up. |
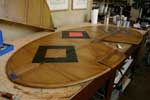
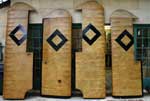
| Here are the four wings with the basic black squares, on the top side of the upper wings, and on the bottom side of the lower wings. I also painted a black 3" strip at the trailing edge. |
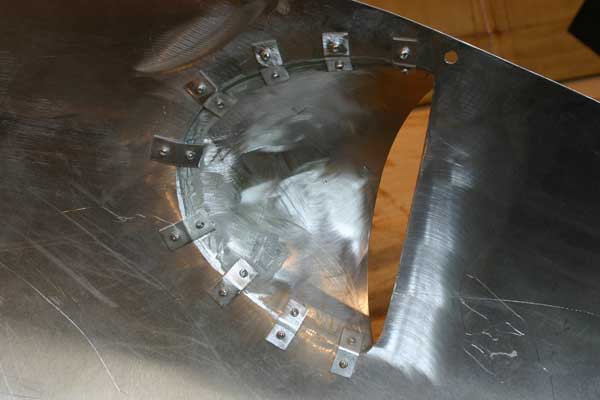
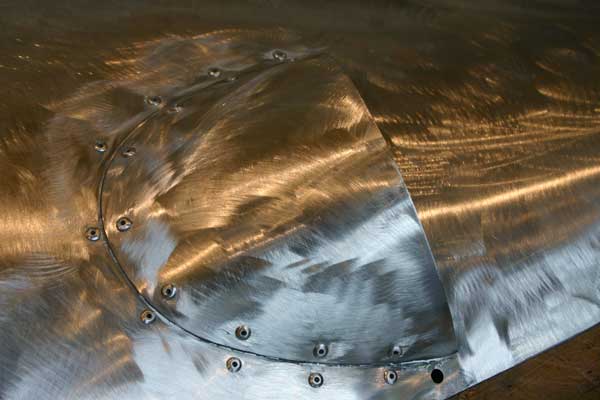
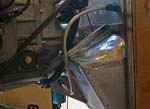
| The right carburator scoop on the engine cowling that had been epoxied in place was secured with small bent aluminium brackets attached on the underside with 1/8" pop rivets. |
I would have prefered brass rivets, but battering them would have been extremely difficult, and the pop rivets don't look that bad after all...
|
The left scoop was epoxied back on, and then riveted as the other.
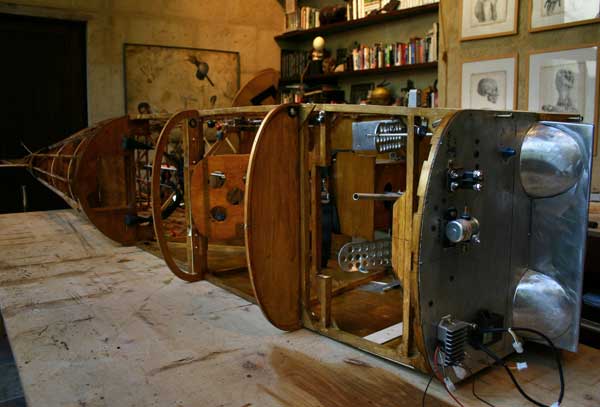
I finally got the back ordered studs. and could finish the installation of the top cowling, drilling and fitting stud receptacles to the next panel around the top of the firewall. |
The cabanes wee removed.
All the top cowling aluminium panels were removed , and curved to fit. |
| The cabane brackets next to the instrument panel are so close that I fitted a K-1000 lug nut to the blind side so the bolt could be easily installed and removed. |
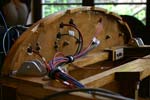
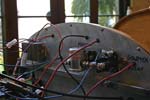
The wiring harnesss was routed around the gas tank to the firewall and secured with rubber lined clamps.
The metal firewall was drilled and larger holes drilled in the plywood to fit rubber grommets matched to the size of the wires. They were located so there would be a little wire as possible in the engine compartment. |
| The master relay, starter relay, electronic ignition unit and voltage regulator were bolted to the firewall . I ordered more K-1000 lug nuts to use in the back or the firewall so they can be replaced if needed without removing the top cowling. |
| The gascolator was connected with flared 3/8" soft aliminium tubing to a bulkhead straight fitting, and the fitting to the gas tank. |
The engine was put on wood blocks, and the engine and mount were unbolted from the firewall ,and the fuselage pulled back.
The front of the fuselage was raised on stilts to re-install the original landing gear . |
| I still like the idea of a traditional Pietenpol type fixed landing gear with a straight axle tied with bungee cords and large wheels instead of the Cub style gear. But the beautiful Harley 16" aluminium rims and tires weight about 35 pounds each, and that is a lot more than the plain 10 pound wheels that came with the kit... Also, the gear would have to be higher, and that would change the 3 point position, and lift the front of the plane substancially. |
| The gas valve was interfeering with the stick in a forward position , and I decided to move the valve back and to the side . I will keep the installed flange for a drain, and have new one welded. |
| The filler neck was also too tall and stuck up too far, so I cut about an inch of , and will have it rewelded. It was easier than cutting it and rethreading it. |
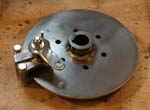
| I was not pleased with the drum brakes that came with the kit, so I got a set of Go-Kart disk brakes on e-bay , and will have to figure out how to adapt those. |
| I decided to mount the battery right behind the firewall, in front of the gas tank, and will fashion an aluminium support bracket. That will keep the wires as short as possible, and help keep evey bit of those 18 Amp. hour... |
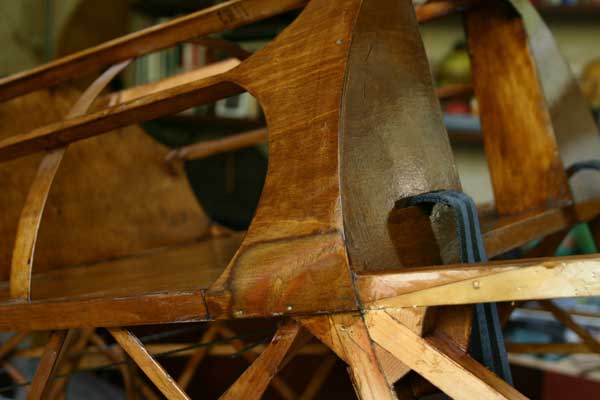
The turtledeck scalloped strip in the back of the pilot seat is 1/16", and the side panel 1/8", so I added as mall piece of 1/16" plywood on each side and feathered it .
I sanded and put another coat of varnish stain on the seat back and in the luggage compartment. Also touched up unvarnished areas. |
I cut square holes in the side panels to install access doors to the pilot rudder pedals similar to the other inspection doors, and glued a strip of 1/4" plywood on the inside to attach the brass hinge.
I painted more of the black strips on the wings and ailerons. |
Painted more of the black strips on the wings.
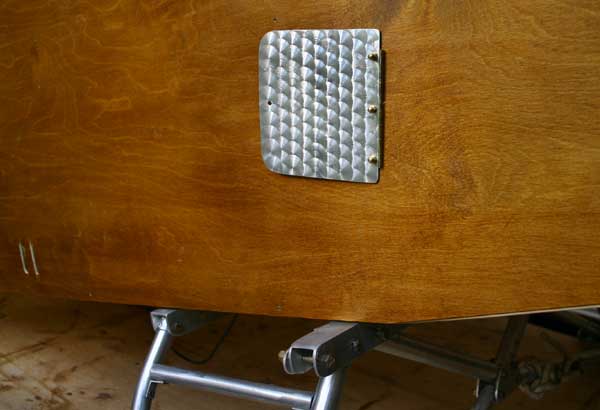
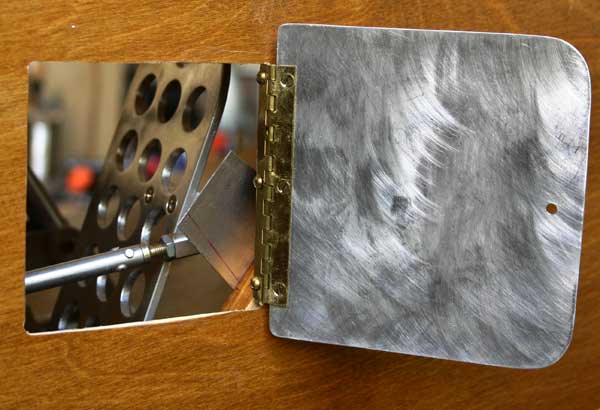
Cut 2 aluminium inspection doors , did the "bouchonnage", and attached them with 4" brass hinges. |
| Added a small bent piece of aluminium on each side to prevent the bolt on the exterior of the rudder pedals to catch on the vertical member. The doors will be secured closed with brass screws. |
| Glued the bushings for the bolts attaching the wings to the fuselage with the wings in place, to make sure they line up perfectly with the holes in the brackets. |
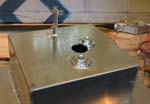
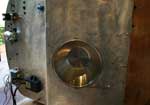
Cut a circular hole in the firewall boot to fit a Martha Stewart K-Mart stainless steel bowl, to allow protrusion of the oil hose on the back of the engine. I epoxied it in place, and will add some brackets.
|
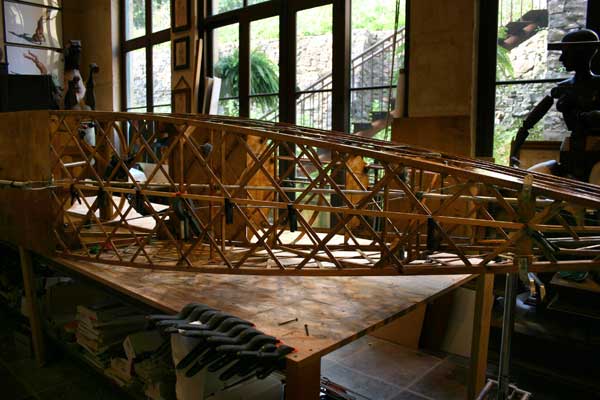
Turned the fuselage on its side and sanded the bottom plywood .
Smoothed the edges where fabric is going to be attached.
Varnished bottom plywood. |
Glued the right side plywood panel on with plenty of T-88, and nailed it tight with bronze annular thread boat nails every 4" or so along all the 3/4 " members.
|
Turned the fuselage over on it's other side and wiped the extra epoxy.
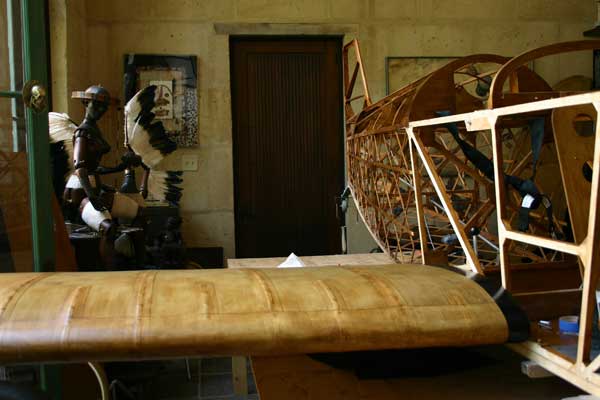
Varnished areas that had been missed. Gave a final coat of varnish to geodetic . |
| Glued a 1/3"x1/4" wood strip to the geodetic strips along the middle of the fuselage bottom to provide support for the fabric. |
Painted the red square on the two top wings. Touched up black strips.
Ground the heads of the 2 bolts sticking out in the aileron bays so they dont rub on the aileron curve. |