 |
We
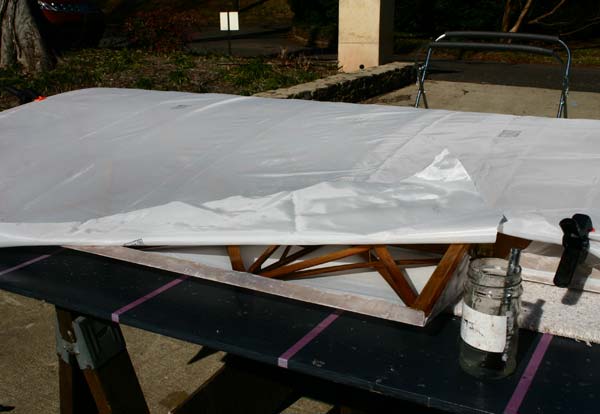
will be covering the bottom side of a top wing here. The top side
was done first because it will not be seen as much, and we want the
bottom side to look best, just like we wanted the top sides of the
bottom wings to look best. So we make sure all the extra POLY-TAK has been wiped off with MEK, and all bubbles and creases have been ironed out at 250 where the seams are going to overlap.We lightly sand the selvage of the fabric on the leading edge , and recoat it lightly with Polybrush. |
 |
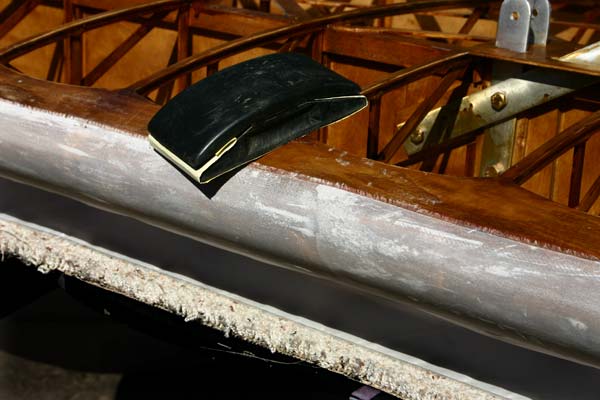
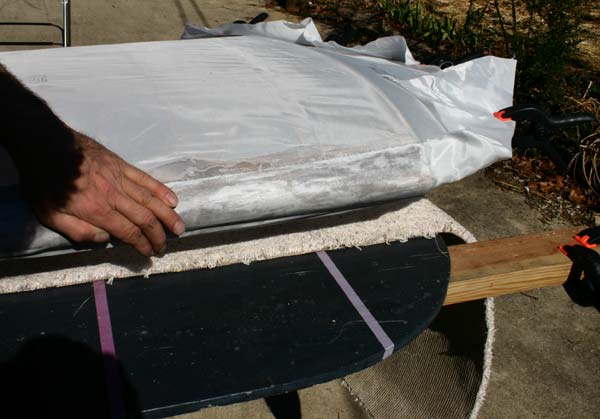
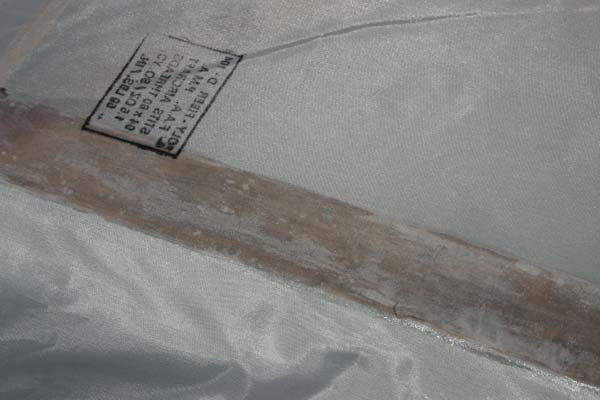
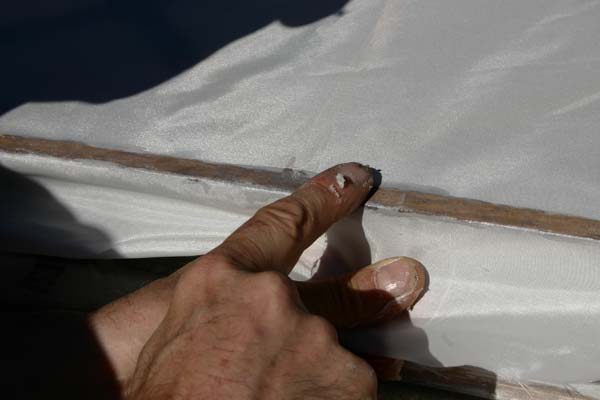
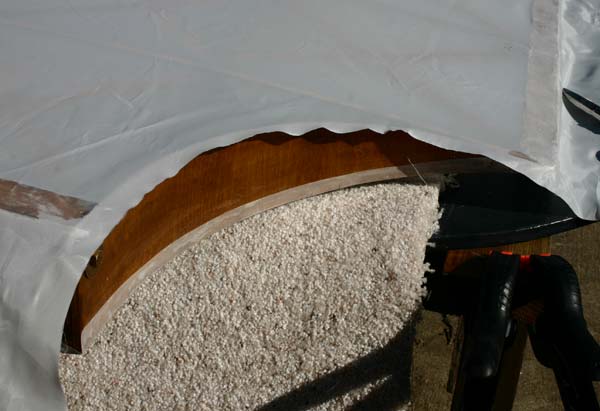
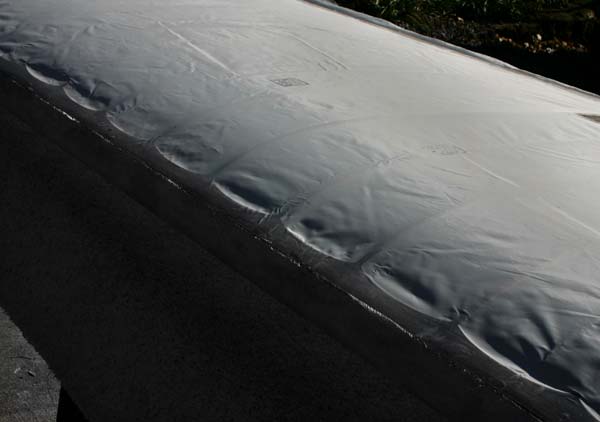
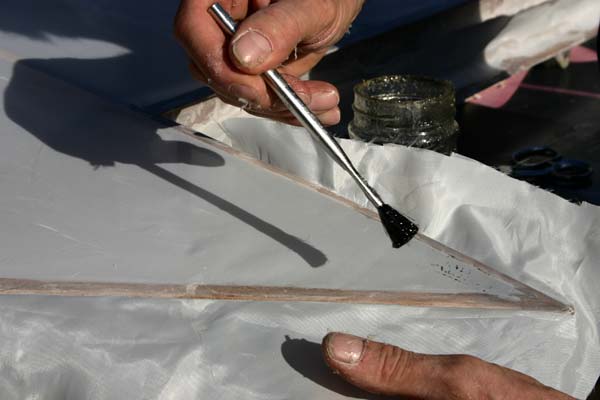
Here is a picture of the wing tip bow. I had not ironed the fabric
around it enough , and there are creases that have to be flattened
. Next time I will get the iron a little hotter so The fabric shrinks
around the bow and glues down flatter. I lightly sand the cut edge . Now for the creases. |
 |
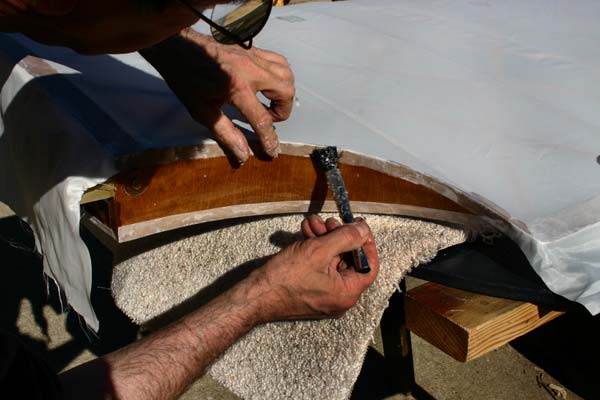
No problem , the little iron at 250 will press it all down. Rather than rubbing hard, I find a slow movement around the curve with a lot of pressure works better. For the really recalcitrant creases, some hard rubbing with the tip of the iron will get them |
 |
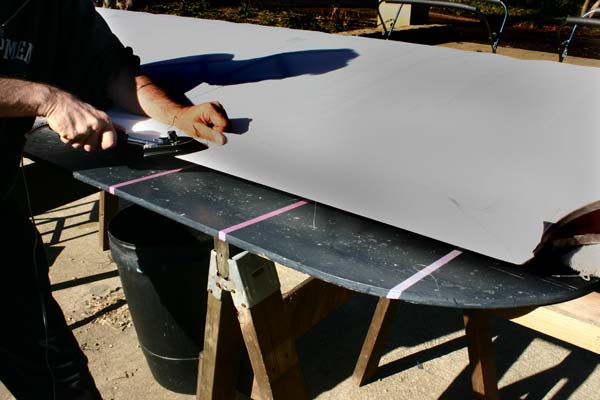
Unroll a piece of fabric on the carpeted table top, and cut it with about 6" extra at each end. I find that sufficient. We now need to mark the line to line up the edge of the fabric along the leading edge. We want at least a 2 " overlap fabric over fabric . I found the chalk line does not mark very well and makes a mess. So I prefer to use a 1" wide aluminum ruler and draw a pencil line. |
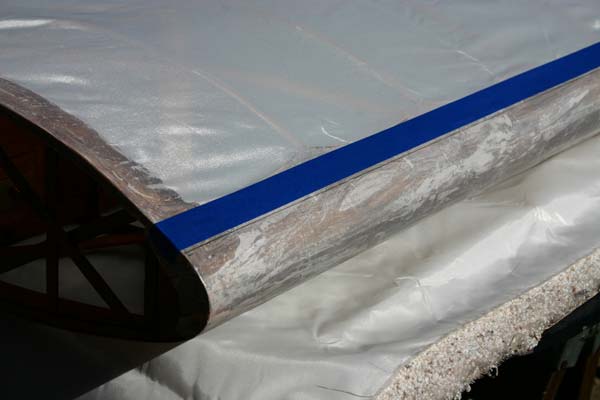 |
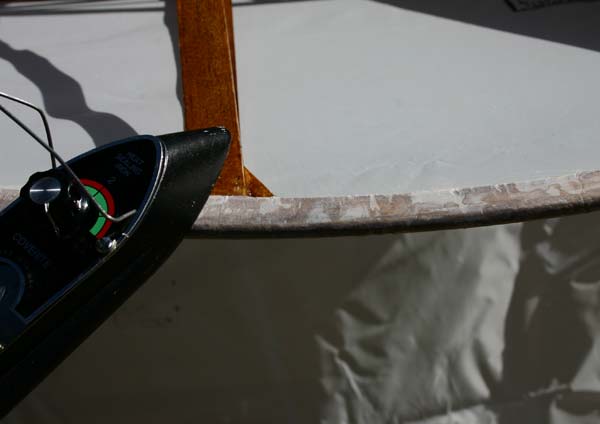
I run a strip of masking tape about 1/8" above the line . Don't use cheap tape that will leave a glue residue, splurge and buy the best blue tape . Tape the selvage in place along the line every couple of feet. |
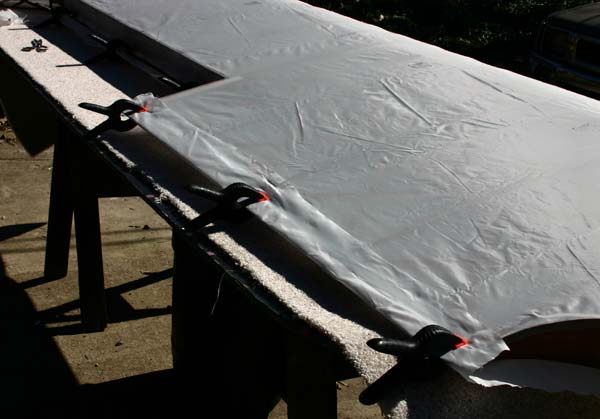 |
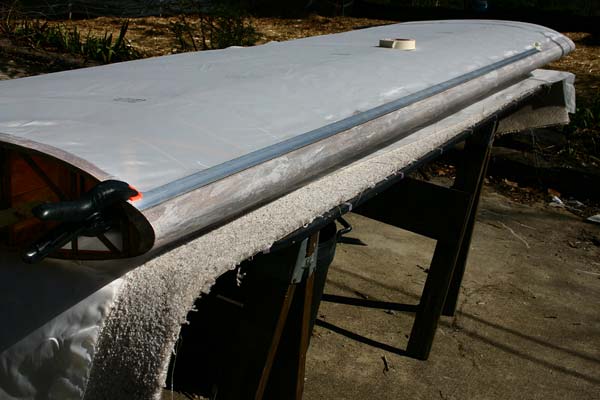
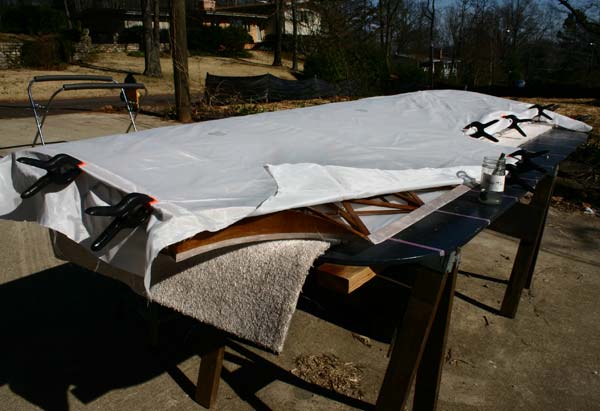
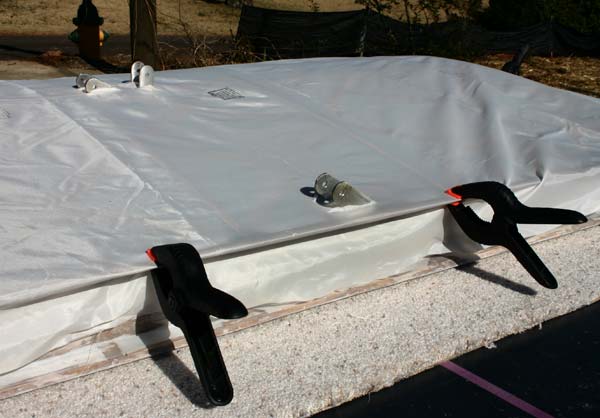
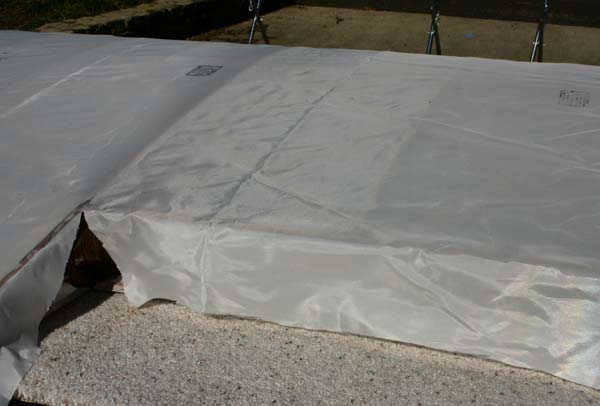
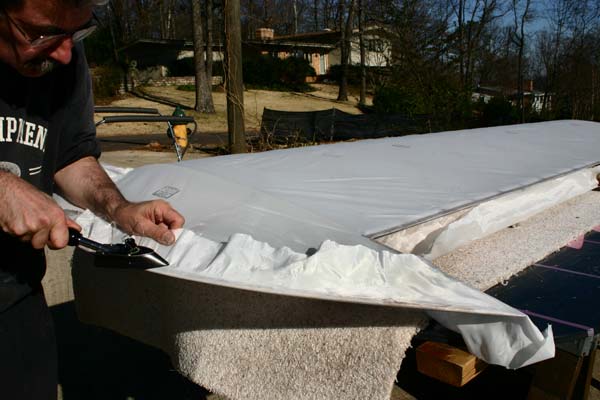
Pull the fabric tight, and cut it with about 4" extra along the trailing edge and around the aileron bay and the wing tip. Fold it over and clamp it. |
 |
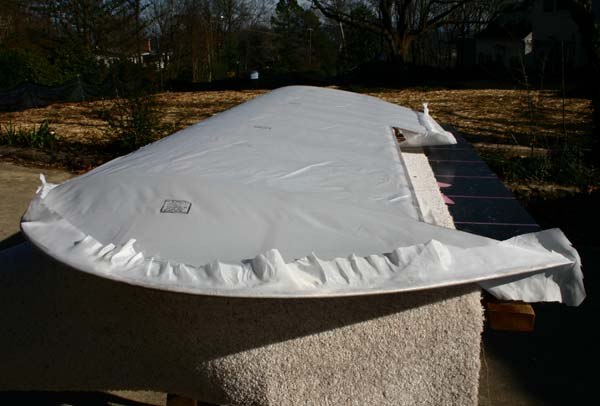
Pull it around the tip bow as smooth as you can, and clamp it. I found out doing the other two wings that it helps to have a no crease transition from leading edge to bow if the glue line is curved up about 1". |
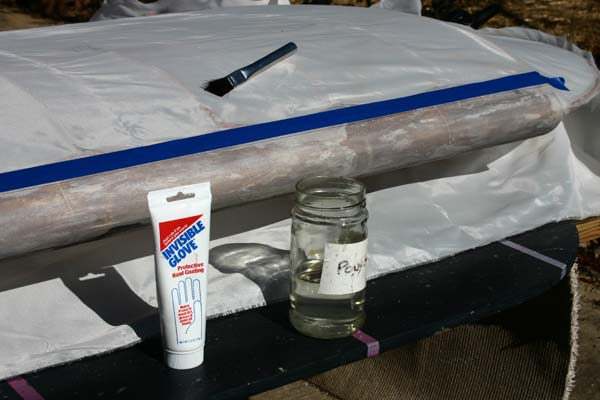 |
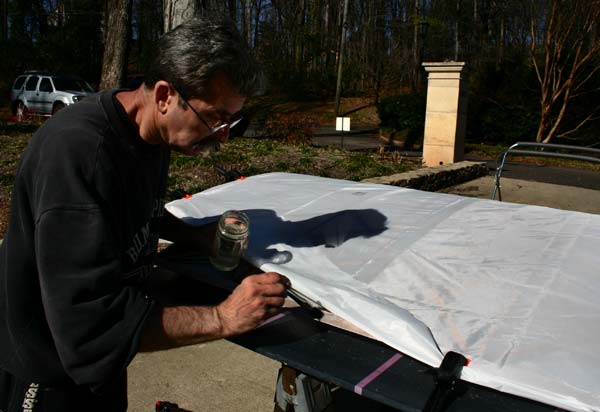
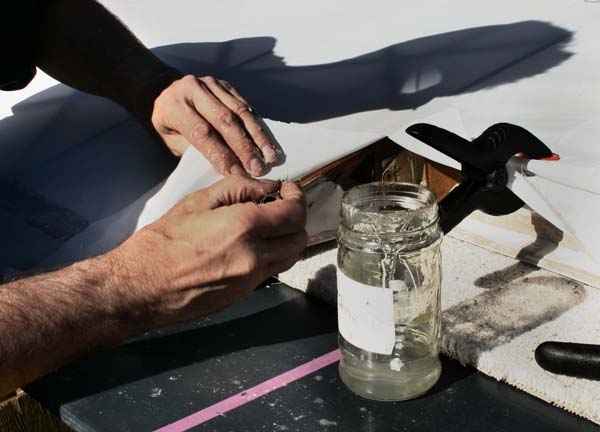
Put an
"invisible glove" cream liberally on your hands, as I find
it just about impossible to work with latex gloves. Pour about a cup of Poly-Tak in a empty jar, and thin it with about 1/4 MEK or Polyfiber reducer. That stuff dries so fast that I figure using the retarder reducer might give me a few more seconds to work . If you use medium weight fabric, you might be able to use the Poly-tak straight out of the can, but with the light weight I am using, I found it would not soak through the tight weave properly unless I thinned it. And soak through is what you want for a good bond. Get a bag of assorted metal handle mechanic cleaning brushes. Swash them well in MEK and pull out the loose hair so it does not get in the glue under the fabric . There will be no time to pick them out later, and they will show through. The 3/4" work well for the wider areas, the 1/2" for the narrower ones. |
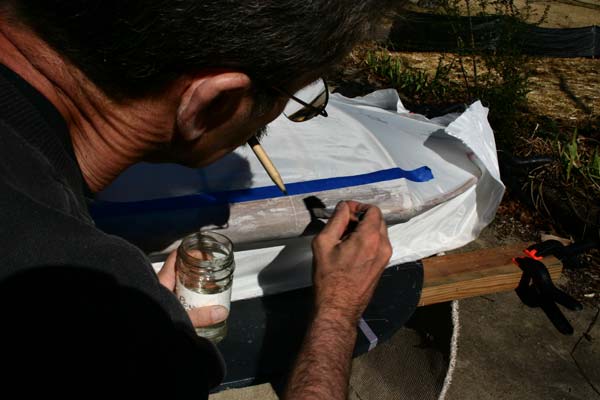 |
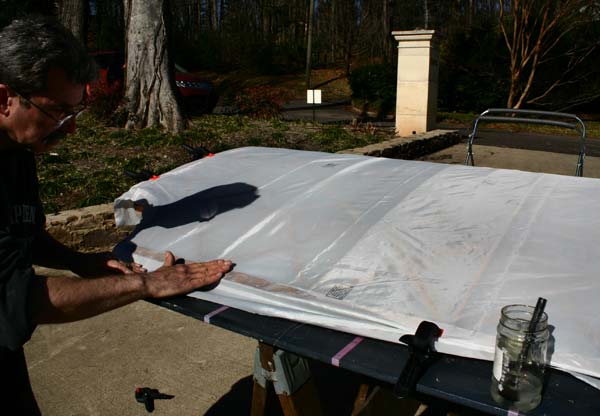
Before
you start slopping on the glue, pull the carpet back so the drips
go on the table and not on it, and you have a place to put the jar.
You have to work very fast, and it is messy. Quickly brush a thick more or less 4" wide and 18" long layer of the slightly thinned Poly-tak on the leading edge as quickly as you can. I do not worry about following the selvage exactly on the bottom, and do not worry about drips. There is not enough time to be precise, and it does not really matter as the fabric will ultimately be glued to the whole plywood leading edge with Polybrush. |
 |
Immediatly lay the fabric in the Poly-tak with the edge along the blue tape and press it hard into the glue with the palm of your right hand while the left hand pulls it tight and keeps the selvage lined up. It takes some practice,and you have to be very fast . If you are too slow, the glue will start to dry and not soak throughproperly. If that happens, clean up with MEK and start over. If you do it right, you will feel the Poly-tak soaking through and wetting your hand, the fabric will have no creases, and the soak through will be uniform. Don't worry if it isn't perfect though . Quickly rub the fabric with the slightly wet brush and rub it with your hand until the area shows a good soak through. It is sloppy and messy, but the extra Poly-Tak will clean up with MEK later. Don't skimp on the glue, even though it is 20 bucks a quart! Remove the blue tape as you go. |
 |
Turn the wing over , unclamp half of the trailing edge, and pull the fabric back . |
 |
Again quickly brush a heavy coat of Poly-tak on the uncovered trailing edge. |
 |
Immediatly press the fabric in the glue with your flat right hand while pulling it reasonably tight with the left . You have to press pretty hard to feel the glue soaking through, and it will get all over your hands. If the soak through is not uniform and sufficient, rub with the brush while the glue is still wet. Keepthe brush pretty dry, but add some glue if necessary to soak the fabric. |
 |
Unclamp and uncover the second half, and repeat. |
 |
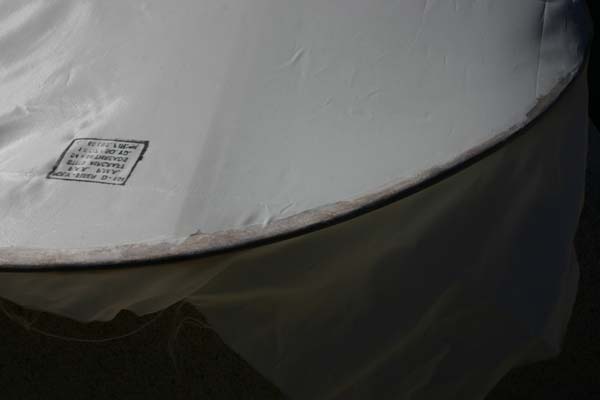
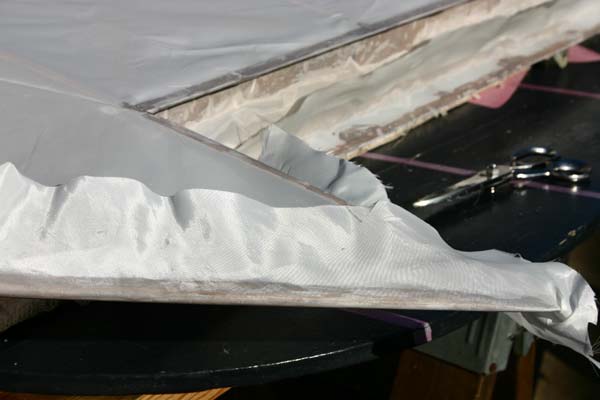
This is a close up of the trailing edge |
 |
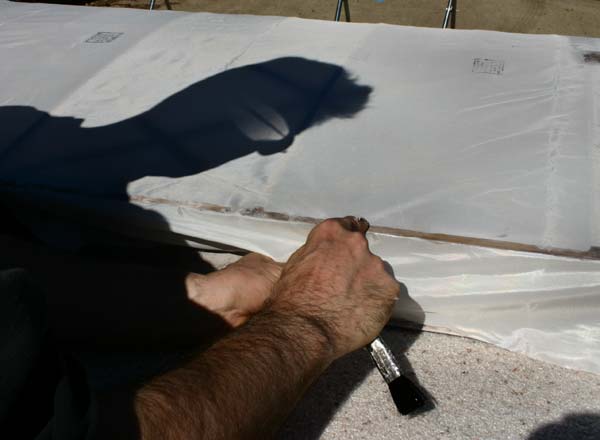
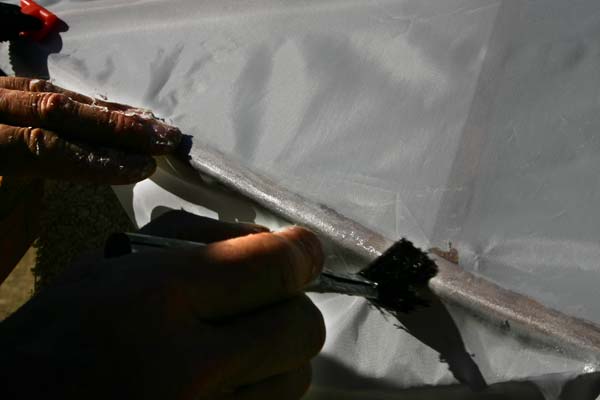
Switch to the 1/2" brush and glue the fabric to the rib at the end of the aileron bay. |
 |
The Poly-fiber manual suggests to just pull the fabric over the strut brackets and slit the fabric after shrinking. In my case , I added plywood plates around the brackets the fabric will be glued to , so I prefer slitting it now. |
 |
I glue the slitted fabric to the plywood plate . |
 |
Cut the fabric to the corner of the aileron bay. Coat half of the trailing edge strip with Poly-tak and lay the fabric into it quickly. |
 |
Press it into it with your finger and the brush if necessary. |
 |
Do the other half just the same. |
 |
Make sure it really soaks through. Don't skimp. Try to keep the glue to the wood area. If it gets on the fabric, it can be cleaned later with MEK. MEK will fix anything! |
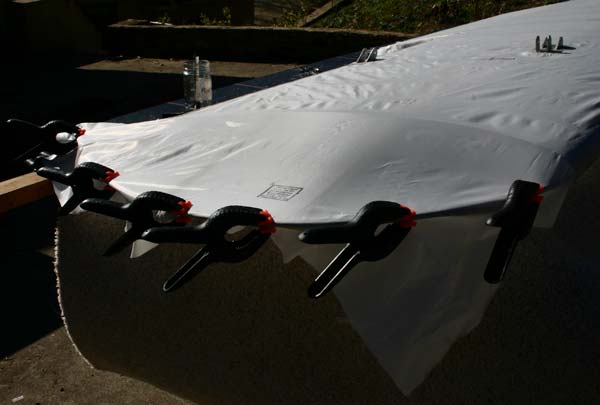 |
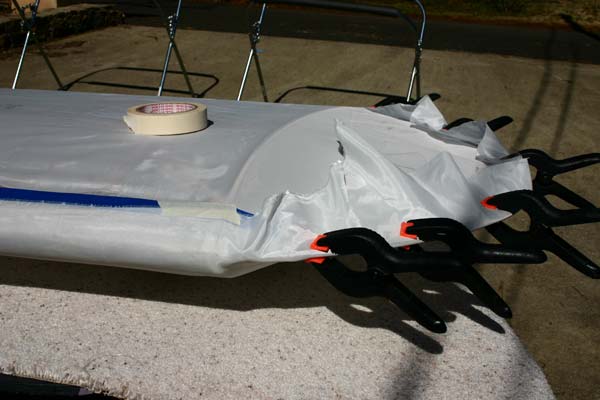
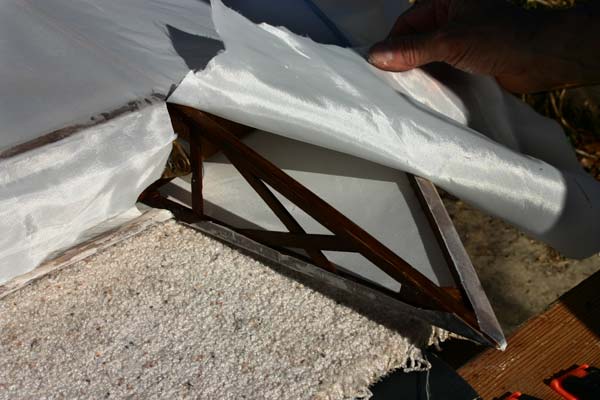
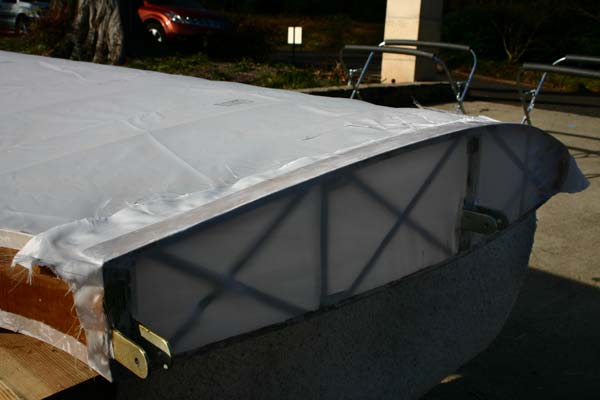
Now for the wing tip. You obviously want it as tight and wrinkle free as possible. So do a dry fit with clamps until you are happy with it . |
 |
Uncover 1/3 of the bow , lay a thick coat of Poly-brush. |
 |
Pull the fabric over tightly and press it hard in the glue with fingers and brush. |
 |
Unclamp the second third and repeat. |
 |
Now , the tip next to the aileron bay. |
 |
Brush the glue on both the rest of the bow and the rib, pull fabric over and press it into it. |
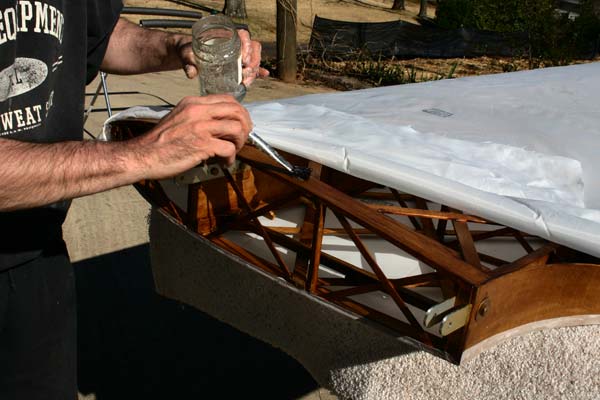 |
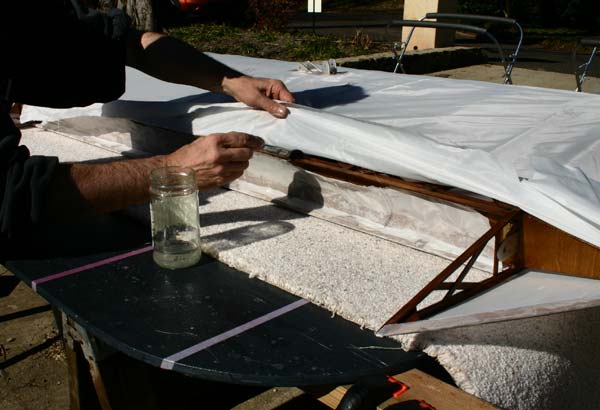
Pull fabric off the root rib , and brush a thick coat of glue it to the 1" plywood stiffener. |
 |
Press fabric into the glue . Make sure you get a good soak through. |
 |
I did a curved notch at the root of the upper wings, so the fabric has to be trimmed about 1" from the edge to be able to pull it down into the glue. |
 |
Coat about 1" of the wood and pull fabric tight over the edge. Press it in with the brush . |
 |
Time now to turn the wing over and work on the other side. |
 |
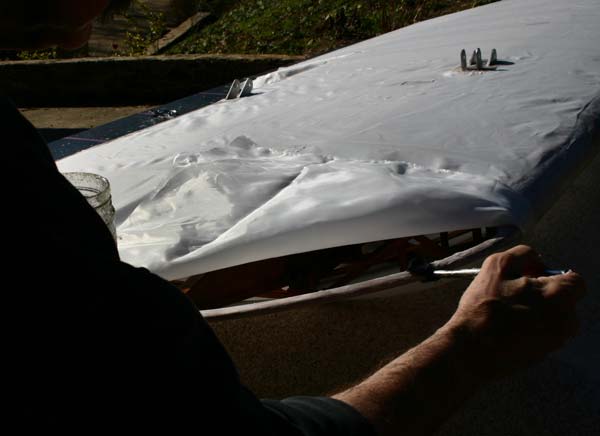
The fabric is not perfectly smooth, but no worry, heat will pull it nice and tight. |
 |
Press the fabric around the trailing edge and flat against it with the iron at 250. You could use the big iron too, but I like that little Black Baron. |
 |
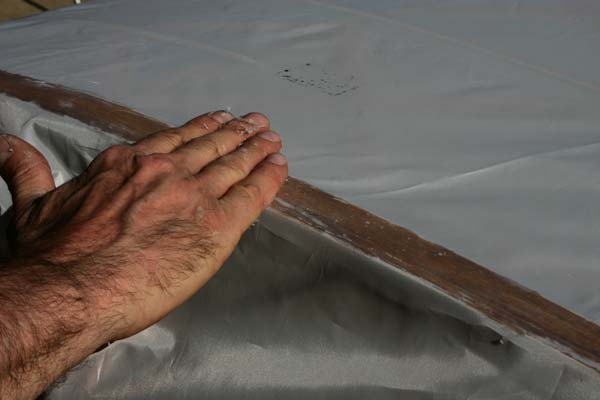
Next, we want to wrap the fabric around the wing tip bow. I find getting the iron just a little over 250 works best, as you roll and press , you shrink the fabric up and around the curve . |
 |
You can get it quite smooth over the wood, as the image at left shows.. |
 |
The heat of the iron tends to stick the fabric to the dry glue, but that is not enough, so you need to pull the fabric back to about the mid line of the bow. Put a coat of Poly-tak on the wood area and on the 1/2" or so of fabric that will be glued to it.Try not to spill over the edge of the bow, but it can be cleaned later if you do. I did the whole bow at the same time, so , be fast. Having glue on both surfaces helps . |
 |
Pull the fabric back over and press it into the gluequickly with the palm of your hand. |
 |
As long are there are very few wrinkles on the covered wood area, you are fine. |
 |
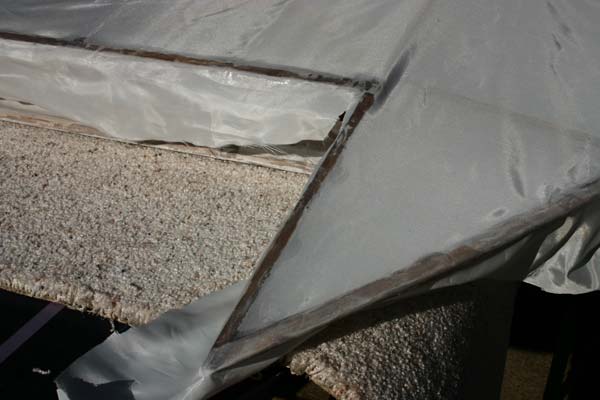
Next, the two side of the ribs in the aileron bay are covered . |
 |
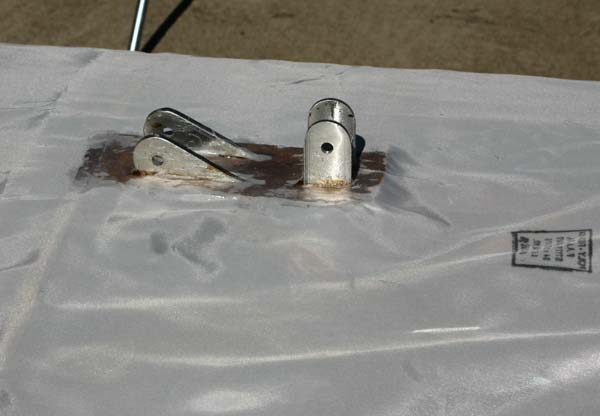
Finally , the root rib is covered . The fabric is slit for the wing attachment brackets. and wrapped arount , and glued to the fabric already glued to the 1" stiffener strip at the root. Keep in mind you have to get at least a 1" fabric to fabric overlap bond. |
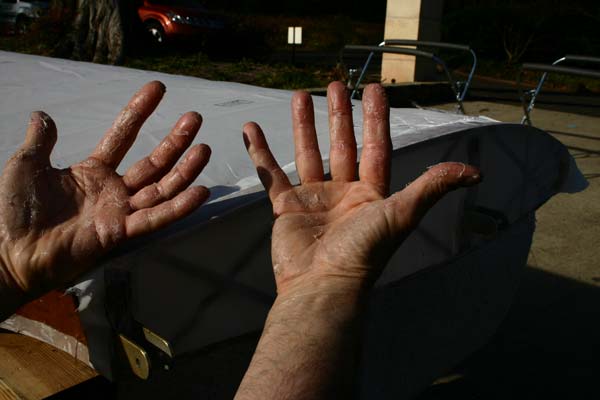 |
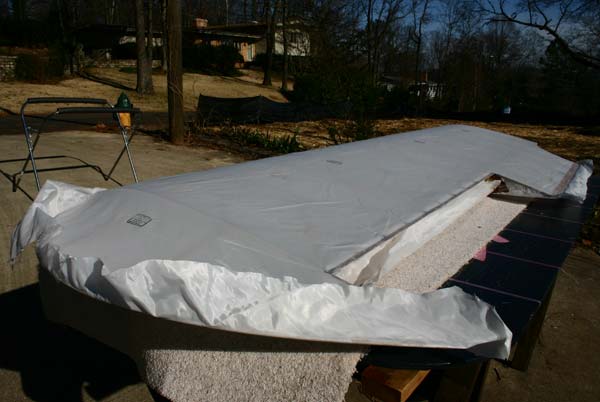
That's it ,guys! We will let it dry now. We will trim and clean up to morrow. Your hand are covered with dry Poly-tak, but most of it rubs off, and MEK cleans up the rest. |
| N E X T M O N T H | B A C K T O I N T R O |