|
| C
O N S T R U C T I O N L O G |
|
| MAY 2 0 0 4 |
|
| |
| |
|
| 4 4 |
|
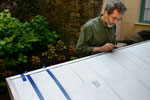
| Started on the second wing, punching the holes along the leading edge , lining them up with a long aluminum ruler. |
| Used my masking tape templates and a 9"needle to punch the rest of the holes . I am using this method so I don't have a bunch of chalk lines showing through the clear dope finish. |
| Then stuck down the 3/8 reenforcing tape . On the first wing, I had punches the holes after laying down the tape, it is better to lay the tape down first. Burnished it with a spoon. |
Laced the wing with single laces. I find it just as fast as using a continuous lace , the cord doesn't get tangled up, and you don't have to twist and thread the needle around loops of cord. The straight needle is easier to handle tooand makes it easier to find the hole on the other side.
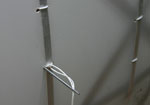
There is a piece of geodetic in the way of the middle lace in the root cell, and I had to go over to the next rib and back with a 9" needle I curved for that purpose.
|
|
|
8hrs |
|
|
| 4 5 |
|
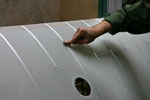
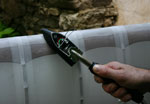
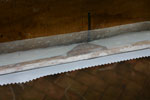
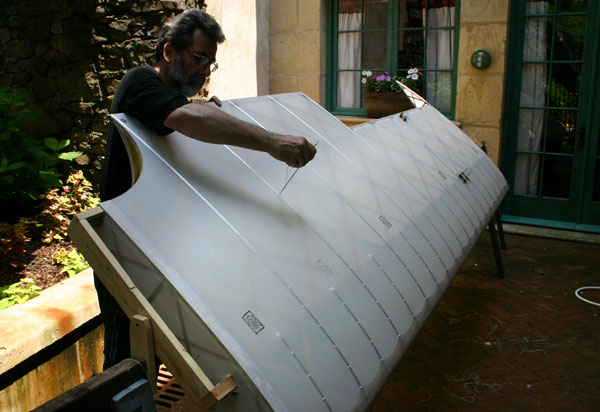
| Taped the ribs, the leading edge, and the trailing edge . Before gluind the 7 1/2" wide leading edge tape cut with pinking shears , I lightly sanded and ironed the overlapping fabric flat. |
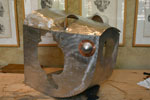
| To get a good fit where the tape wraps around a sharp edge, I found it is better to glue half of the tape on the top first,and let it dry. |
| Then iron the fabric around the edge before gluing the other half , as shown on the left for the aileron bay. |
| The 4" tape was formed around the trailing edge the same way. It keeps from having bubbles due to the fabric springing back at the very edge. |
|
|
5 hrs |
|
|
| 6 |
|
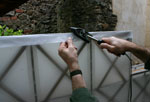
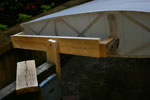
| Getting the third wing ready to lace, the wooden support attached to the horse cracked so I made a new one out of plywood, which I should have used in the first place . The wing could have fallen down. |
| To hold the wing tip, since there is no handle on this wing, I had to come up with another contraption, made of 3/4" plywood to clamp it tight. |
| Being able to rotate the wing makes it a lot easier to tape, lace and tape over the lacing. |
|
|
4 hrs |
|
|
| 7 |
|
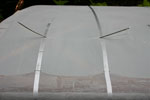
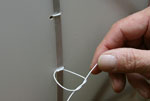
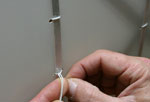
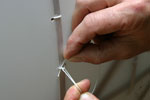
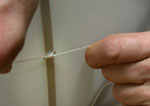
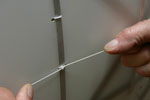
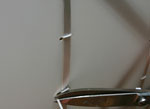
| Here is the simple knot I am using for the single laces. First tie a square knot tight, then pull on both pieces of string to run the cord up under and back though the loop to make a single knot on one side . Tighten it. Do the same the other way on the other side threading the cord down under the square knot. |
|
| Pull the knots as tight as possible pulling one way, and then the other. Run the needle back through, thread both cords, and get the knot on the inside pulling the needle while holding the ends of the cord and pushing the knot over and in with the thumb .r. |
|
8 hrs |
|
|
| 8 |
|
Taped the third wing. |
4 hrs |
|
|
| 9 |
|
Took the fourth wing down to my work area, and punched the holes . I am about out of 3/8" tape, so I placed an order with Aircraft Spruce.
Made the cardboard patterns for the trim plates around the strut brackets on the upper wings |
4 hrs |
|
|
| 12 |
|
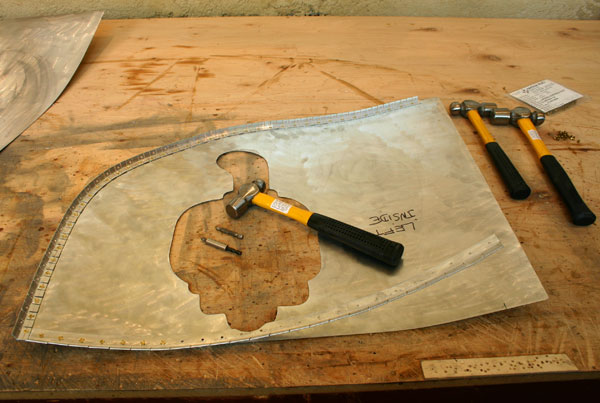
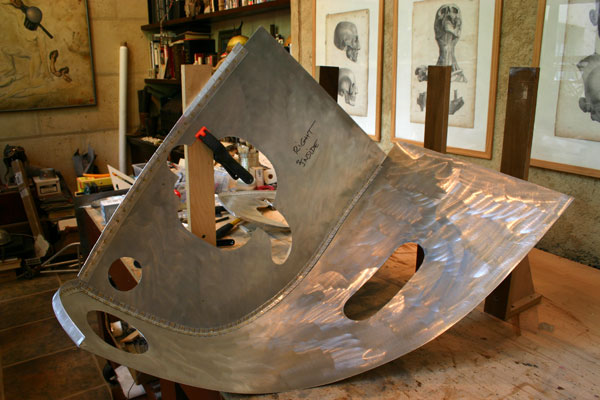
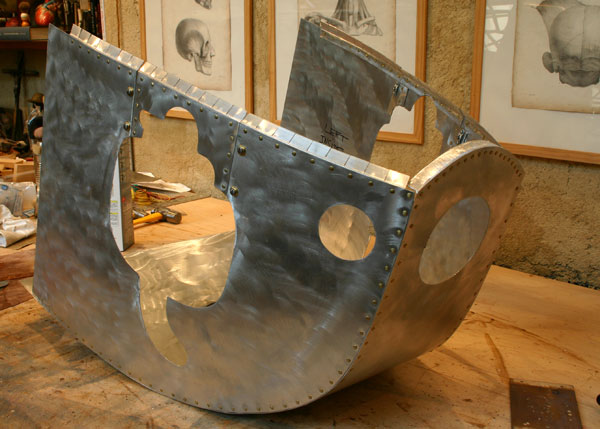
I was out of 3/8 " re-enforcing tape, so I worked on the aluminum cowling. Trimmed the bottom piece some to narrow the nose and let the cylinders hang out in the slip stream as much a s possible . Adjusted the cylinder openings in the side pieces to leave sufficient clearance for the ignition wires and manifolds.
Trying to decide which I like best, I cut a trim plate for the brackets on the wings out of alunimum , and one out of copper . The copper is much heavier and tends to get distorded by the jig saw, so it doesn't look so good. The aluminum works better, and I will use brass screws to attach them.
The tape arrived from Aircraft Spruce, so I went back to finish the fourth wing. Unfortunately, I ran out of waxed cord half way through. |
8 hrs |
|
|
| 13 |
|
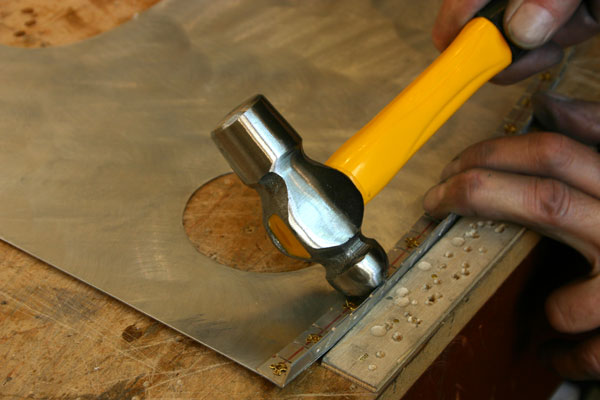
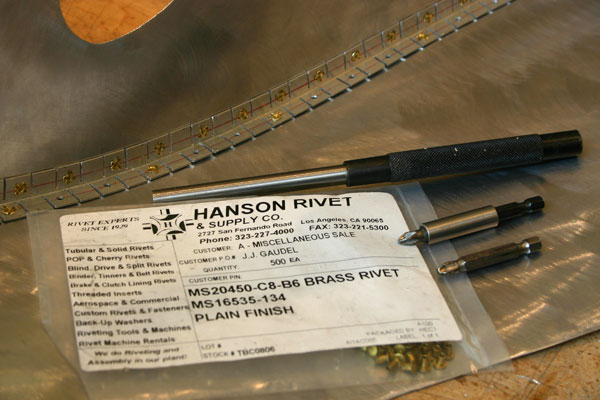
| Got back to the engine cowling today, riveted the flexible aluminum angle to the side of the cowling, using the solid brass 1/8" tubular rivets I got from Hanson. I opened them using philips bits as punched, first a regular to slit the rivet open, then a big one to flatten it some more, and finally hammered it flat and tight. |
| Riveted the curved angle piece to the front top. |
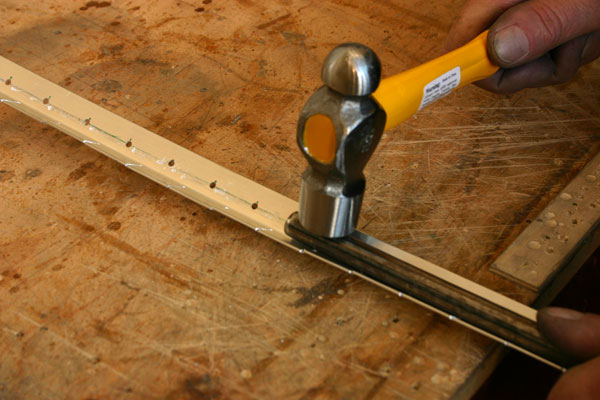
| The angle aluminum has to be open to a progressively higher angle from the bottom to the top, which I did with a ballpen hammer against a wood stop. I probably should have done it before riveting though... |
| So I opened the angle aluminum at the top of the cowling using a piece of tubing and a hammer , before riveting it to the side. I switched to a bigger tubing to open it some more, as it needs to be almost 180 degrees at the firewall. |
| The piece was dry fitted from time to time until the angle matched the curve of the top of the cowling , which gets wider from the front to the firewall. |
| All the pieces were finally dry fitted and taped together to fit the curved removable top. I will use Southco oval slotted stainless steel studs to attach it to the sides |
|
|
6 hrs |
|
|
| 14 |
|
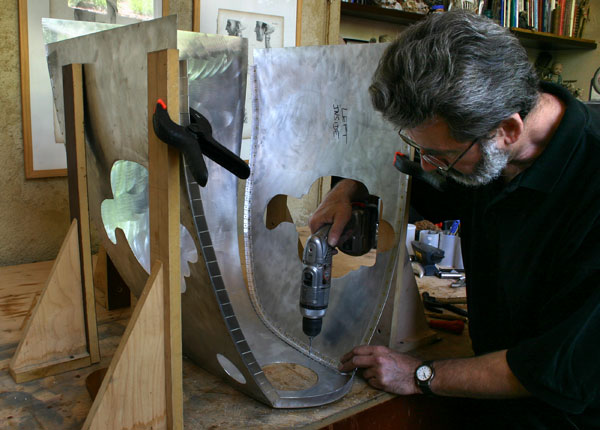
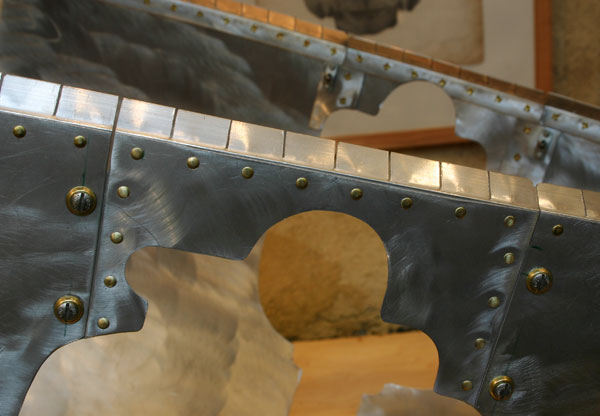
| The wooden squares I had made to hold the sides of the fuselage during assembly came in handy to hold the sides of the engine cowling in place for riveting. |
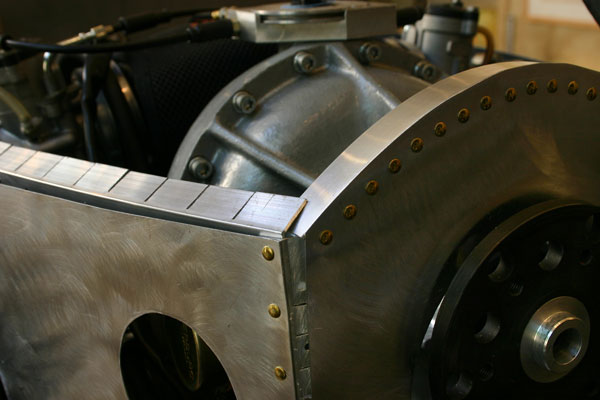
| I used 2 different size philips bits to split the rivet tube 4 ways and a punch to batter the solid brass tubular rivets from Hanson . |
| The rivet holes were predrilled every inch in the aluminum angle, and matching holes are drilled one by one in the sheet metal , fitting the rivets one at a time. |
|
|
4 hrs |
|
|
| 17 |
 |
Having received more lacing cord from Aircraft Spruce, I finished lacing the last wing, and I taped it .
|
|
4 hrs |
|
|
| 19 |
|
The rest of the holes were drilled and the rivets battered to finish the assembly of the engine cowling.
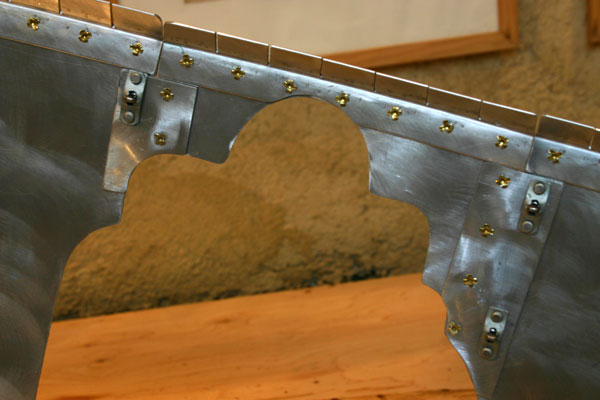
There is no way to slip the cowling as it is over the cylinders, so I cut out two small sections right above each cylinder. |
Those sections were then reattached with Southco studs so they can be easily removed.
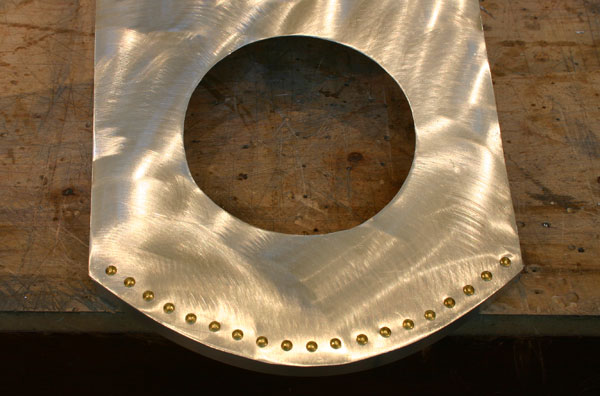
I backed them with some 1/16" thick x 1 1/2" wide aluminum strips , riveted with the same 1/8" brass tubular rivets, to which the receptacles are riveted with aluminum rivets. The head of the rivet is on the backside, and the front of the strip is countersunk so the battered rivet is flush with the surface after a little grinding. |
| The stud are fitted through some brass countersunk finishing washers for decorative purposes .The hole in the washer is enlarged slightly so the stud has to be forced through, and the hole in the aluminum cowling sides is also drilled for a very tight fit, so the stud stays in place after it is loosened. |
|
|
6 hrs |
|
|
| 20 |
|
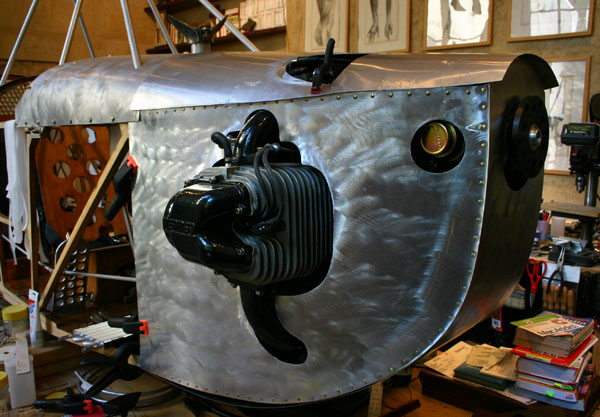
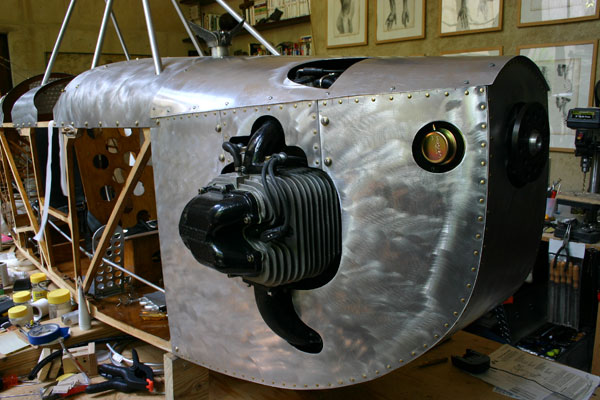
I slipped the cowling over the engine, attached it to the sides of the firewall, fitted and attached the top panel to the aluminum angle with sheet metal screws.
|
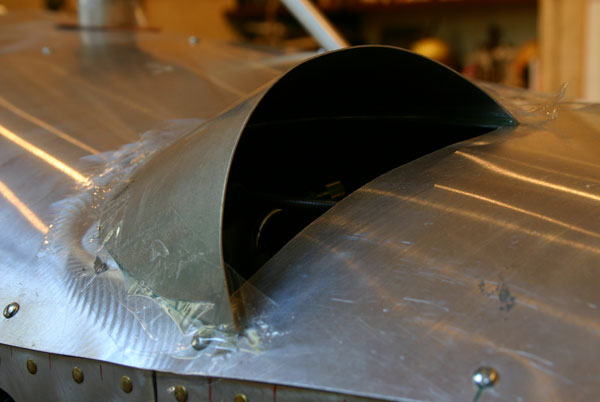
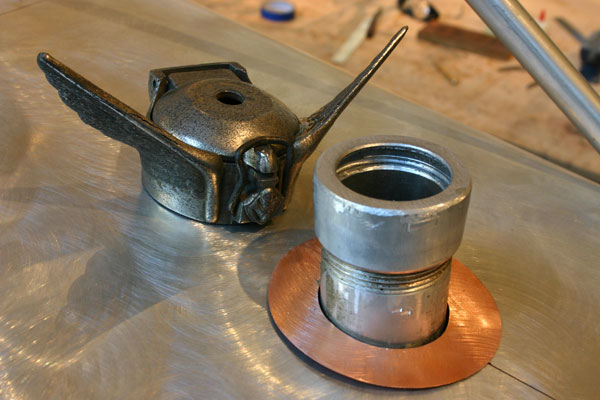
Made a cover for the fuel pump cutout with an aluminum fence post top and a disk of copper.
|
| The air intakes were glued on with epoxy and held with scotch tape to dry . I will attach them permanently with rivets and small aluminum brackets . |
| I cut the flange out of an aluminum conduit connector and ground it to fit inside the antique winged gas cap. Iwill epoxy the cap in place facing forward. Also cut a copper trim disk. |
|
|
4 hrs |
|
|
| 21 |
 |
Took the cowling off, and started fitting the stud receptacles . Had to order 20 more studs and receptacles . |
|
3 hrs |
|
|
| TOTAL 1104hrs |
|
|